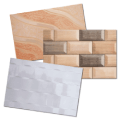
There are many alternatives when it comes how to selecting and installing the thickness of your tiles, ranging from different types of tiles for every application.
floor tiles with standard 8mm all the way up to slab tiles that are as long as three meters. But there’s a factor that frequently goes unnoticed in relation to this incredibly varied floor and wall coverings, and that’s tile thickness.
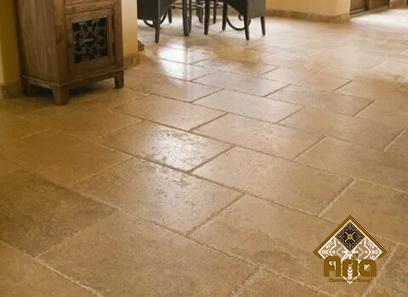
The selection of porcelain tiles ranges in thickness from a thin 6mm for the large, thin slab tiles to a substantial 20mm for the toughest porcelain tile pavers.
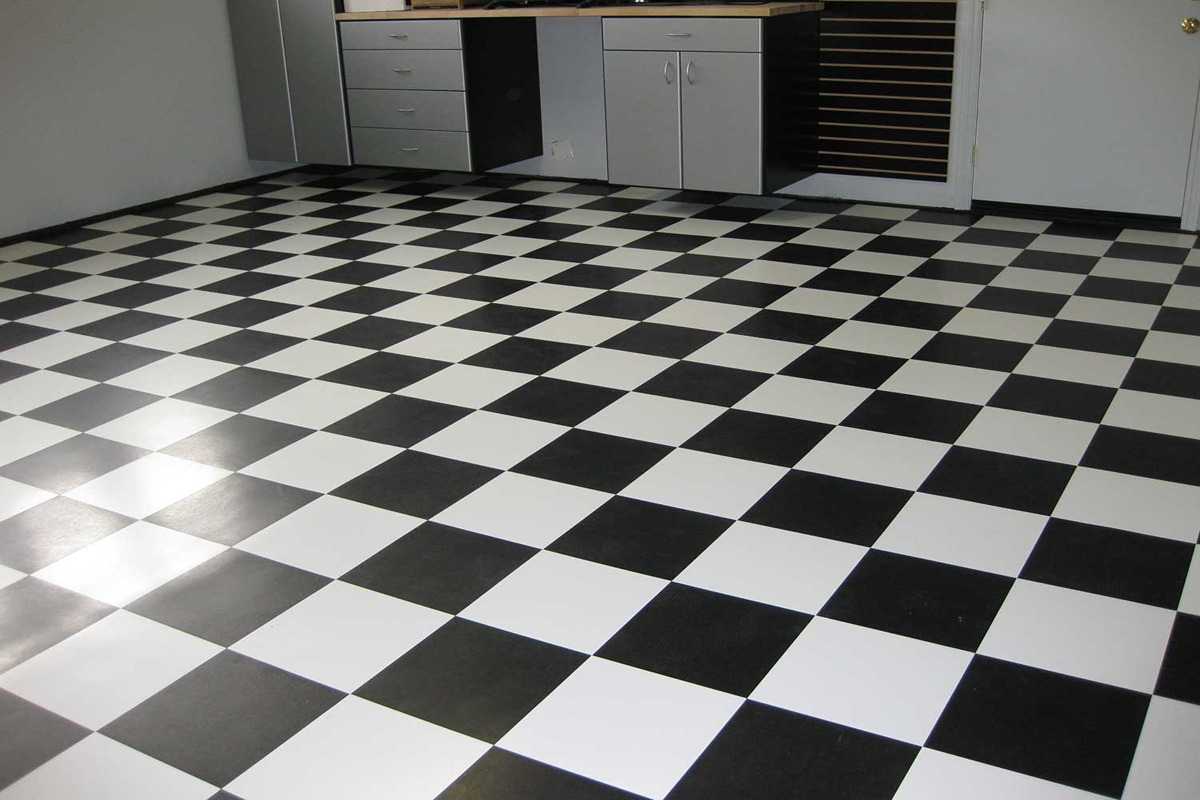
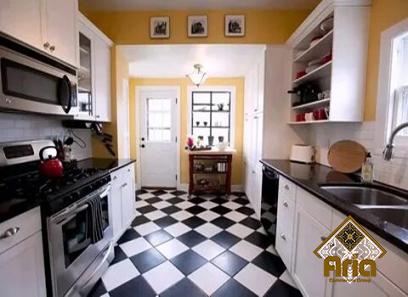
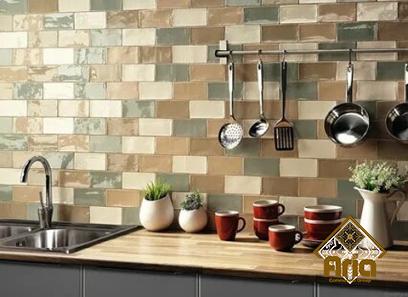
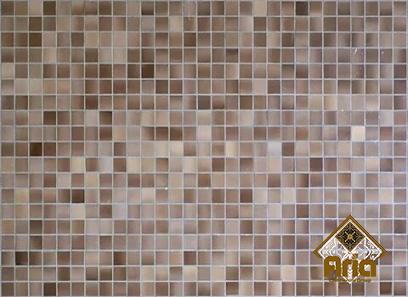
Most porcelain tiles fall between the standard range of 6mm to 10mm thickness range, which is ideal for most applications. Typically, wall tiles are 6 to 10 mm thick.
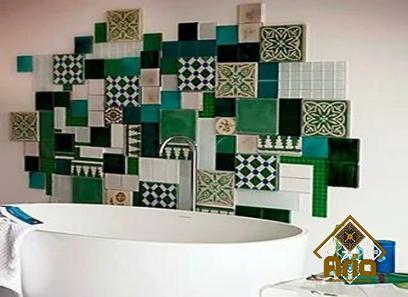
To make mixing mosaics and ornamental wall items simpler, they come in thicknesses ranging from 6 to 10 mm. Although you might not notice tile thickness.
in the finished project, knowing the thickness of your tiles can be very helpful when planning a renovation, especially for determining how high your floor might end up being.
When calculating the finished height, don’t forget to take any underlay, leveling compound, and adhesive bed into account as well.
There is no standardized thickness for floor and wall tiles like 8mm; instead, the thickness will vary depending on the type of tile and the intended use. Consequently, all identical and batch-derived tiles will have the same thickness.
With some normally quarried stone products, there are some exceptions. These are split from larger slabs, and the thickness can occasionally vary naturally.
When laying the tiles, any competent tiler with experience using natural stone products will be able to take into account any thickness variations.
Before installing your tiles, experts advise asking knowledgeable staff about their thickness. It’s also a great way to make sure the thickness is uniform and the tiles will be level to dry lay tiles before fixing them in place.
Many owners wrongly think that tile that is thicker is preferable since there are no guidelines for tile thickness. According to experts, thin tile offers more benefits as long as it is made by trained individuals.
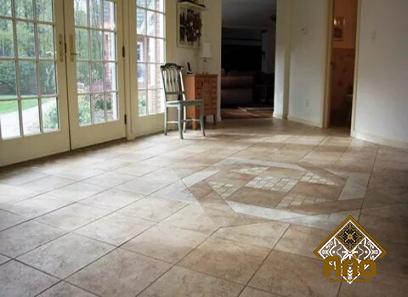
Installing mismatched tiles is a terrific method to save costs or use up extra floor coverings while still giving your home a sophisticated appearance. The majority of floor covering retailers provide odd lots that were left over from earlier works at steep discounts.
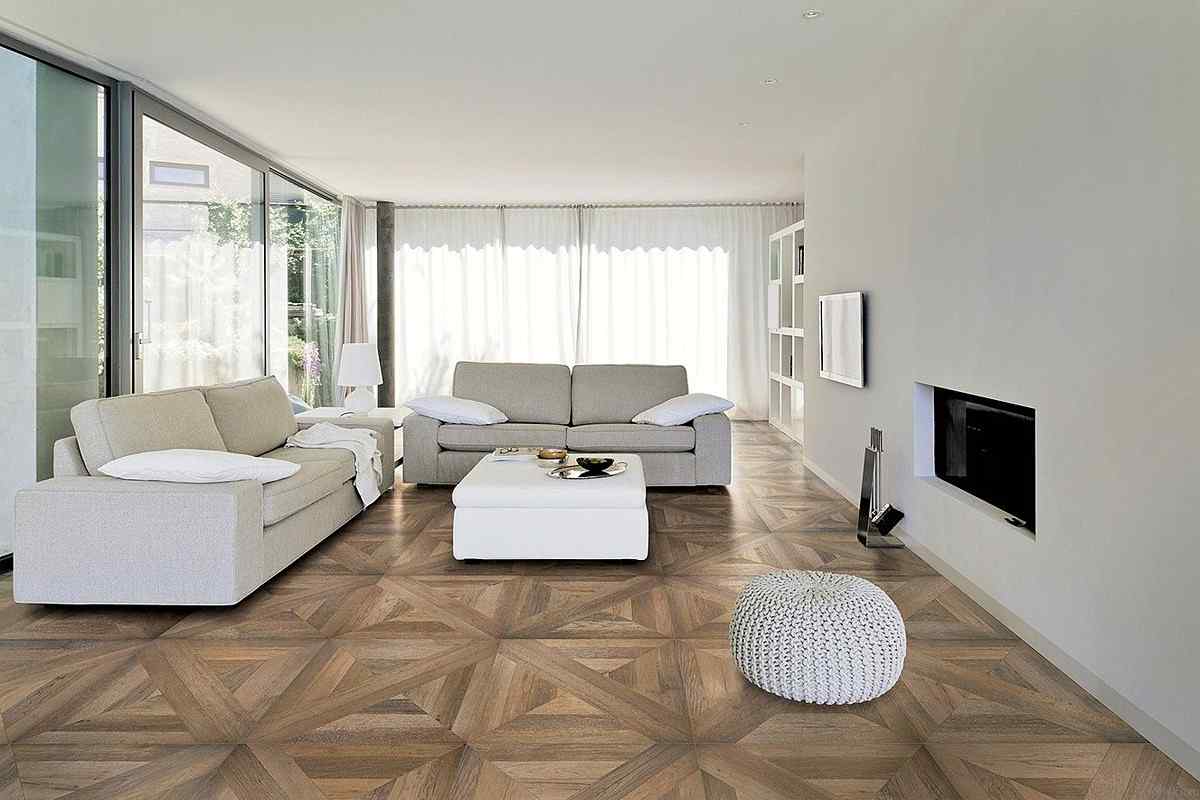
From 1/4 inch to ¾ inch, ceramic tile thicknesses are available; thicker tiles are more robust and less prone to break. It is typical for specialty border tiles and higher-quality ceramic floor tiles to be thicker than conventional ceramic floor tiles.
You may arrange the tiles to make an artistic masterpiece with a little forethought in the pattern. 1. On graph paper, plan the tile arrangement. To distinguish between the various tile thicknesses, use a code system.
Use “A” to symbolize border tiles that are 1/2 inch thick and “B” to symbolize main floor tiles that are 1/4 inch thick, for instance. 2. In accordance with the manufacturer’s instructions, mix the deck mud.
Observe the recommendations for the bare minimum amount of water required. The mud should stick together when squeezed in the hand but crumble when prodded or pressed if it has been mixed properly. 7.

To find the center, draw fresh chalk lines from north to south and from east to west across the dry-pack region. 8. Start in the middle of the room, if feasible, and spread thin set across a small area.
where the thinner tiles belong. Using spacers, a level, and a rubber mallet to knock down high places, install the tiles precisely as you did with the thick tiles. To help level the thinner tiles with the larger ones, the thin set may be applied up to 1/2 inch thick.
Give the floor another day and a half to cure. Once the spacers have dried, remove them all. 9. Calculate and mark the tiles that need cutting.
Lay the tile in position, then draw a line where it overlaps the other tiles to establish its precise size. Utilizing a wet saw, cut the tile following the lines.
10. Make the grout mixture as directed by the manufacturer. Using a rubber grout float positioned at a 45-degree angle to the floor, pack the grout in the spaces between the tiles. After letting it dry for two hours, use a moist sponge to remove any excess grout from the tile’s surface.
Leave for at least 24 hours to cure. With water in a spray bottle, mist the low areas of the flooring. Then use a wood float to compact the deck mud mixture after filling in the voids with it. As tightly as you can without harming the nearby floor, pack the mud.
Use the flat side of the trowel to level the surface after letting it sit until it starts to firm. Give the floor 24 hours to heal. Draw lines in chalk from east to west and north to south across the middle of the space.
When installing border tiles, draw a chalk line 1/4 inch from each wall and the width of one tile wider. Using spacers, dry fit a row of tiles along each line.
To suit the area with the fewest number of cut tiles, adjust the tiles as necessary. When cutting tiles is essential, move the tiles so there is a whole tile on one end of the row to prevent having to cut slivers of tile. For the thickest tiles, use thin-set mortar in a restricted area.
To form a solid connection, set one tile into the mortar while giving it a small twist. Use the same technique to place a second tile, and place a spacer in between the two to preserve the correct spacing.
To make sure the two tiles are level, lay a level across their tops. If necessary, tap the tiles until they are level using a rubber mallet.
Once all of the thickest tiles have been laid, continue laying tiles in this way. Give the tiles 20 minutes to cure. Take out the floor’s thinner tiles.
The remaining portion of the floor should be covered with deck mud, which should be packed and tamped down to a height equivalent to the variation in tile thickness. According to the first illustration, the deck mud has to be 1/4 inch thick. Give the floor 24 hours to heal.


Your comment submitted.