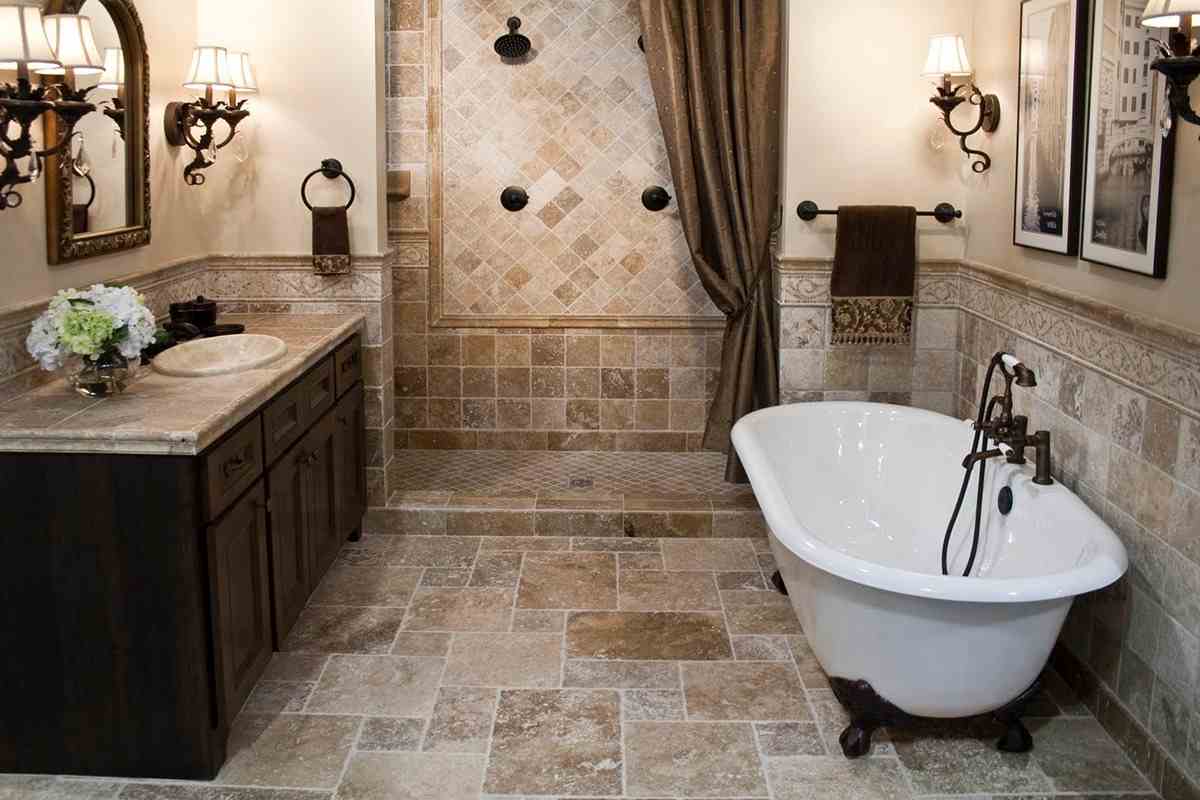
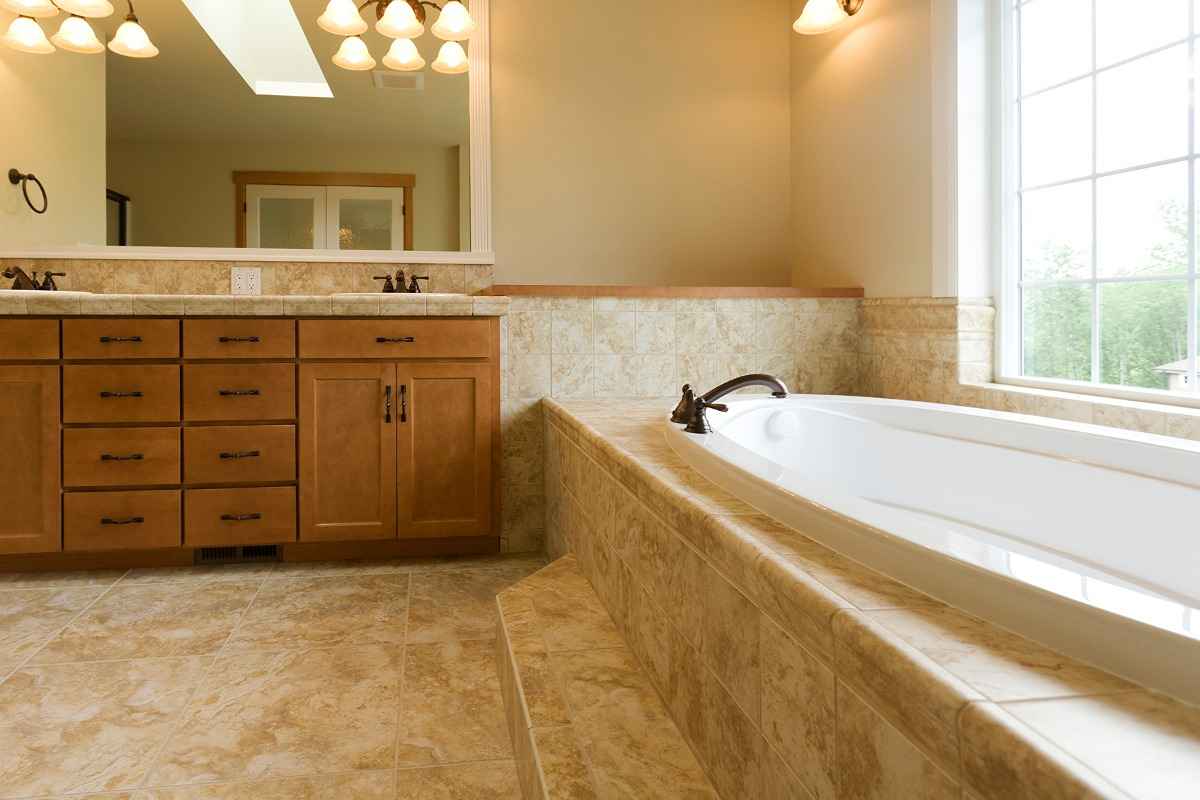
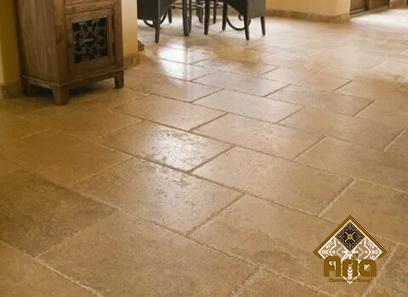
Your bathroom will be quickly improved by tiling the best vanity top tile. Since tile flooring is durable, stain-resistant, and able to tolerate moisture and temperature changes so how to install needs some considerations that are needed to care about, they are perfect for use there.
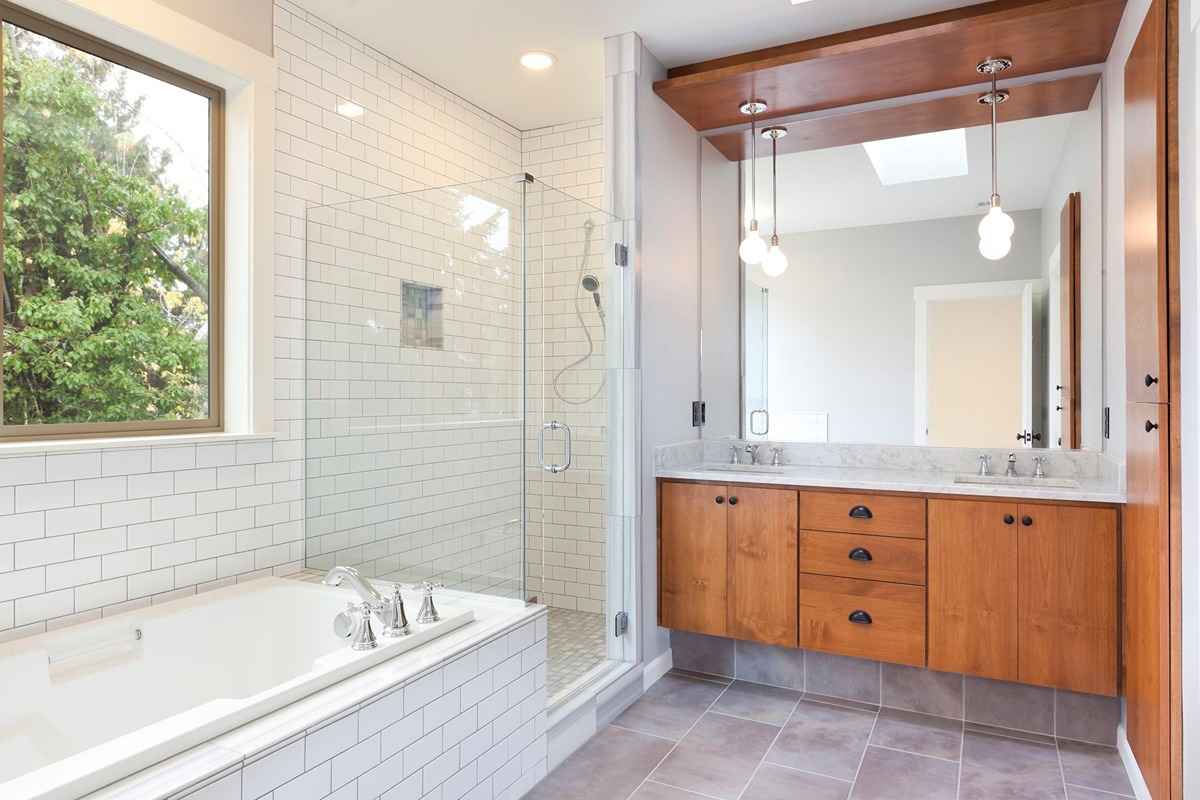
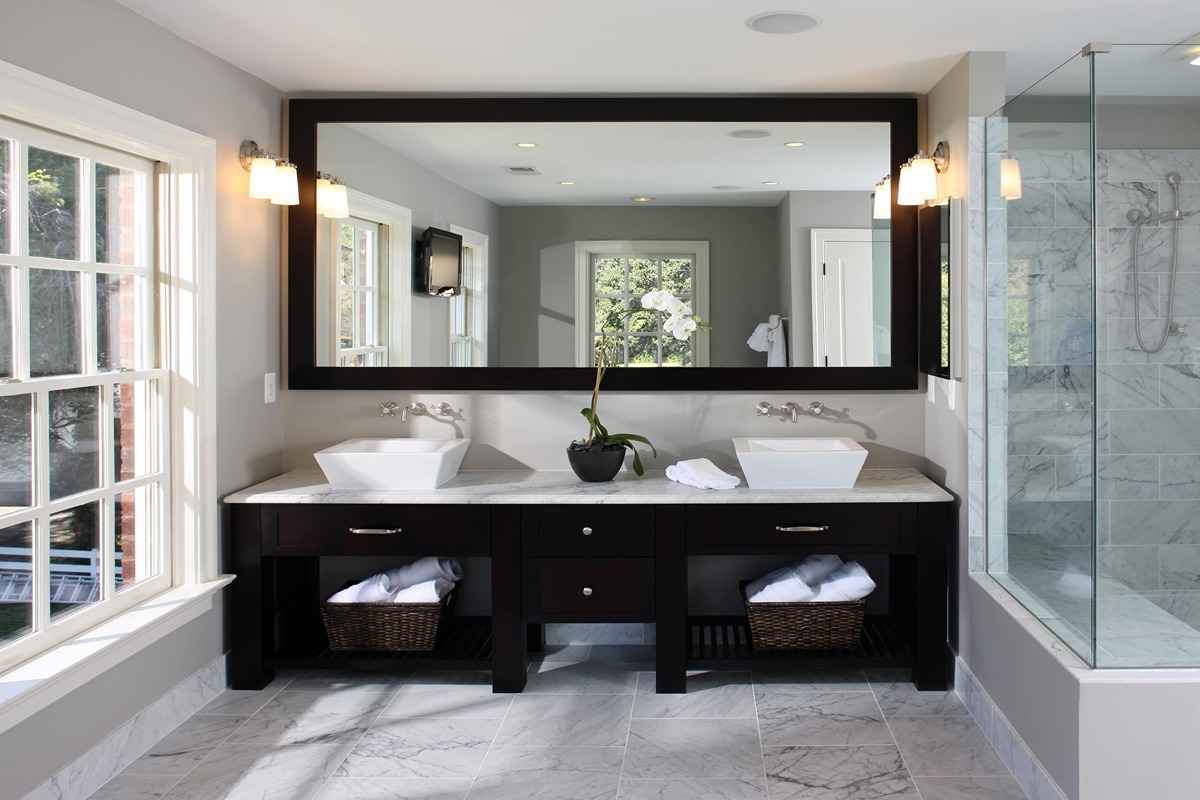
Choosing whether the new tile should go beneath or around your vanity will be among your initial choices. Both options are fine, but there are a number of things to take into account when determining which is ideal for your project.
Bathroom Floor Tiling: Vanity Future: One of the most important aspects in determining how to lay the tile is whether or not you want to maintain your bathroom vanity.
You don’t have to take your vanity out during tile installation if you like it and want to leave it there permanently. Tile may be put down all around it.
Consider tiling beneath the vanity if it is outdated, broken, doesn’t go with your style, or is in the incorrect spot in your newly renovated bathroom.
That way, after the tiling project is over, you may replace your old vanity with a new vanity of any size or shape without worrying about your floor tile.
Even if you don’t have any immediate plans to replace your vanity, you may want to tile below it if you do. If your tile around your present vanity and then replace it, depending on the size of your new vanity, you may need to undertake extra tile work to cover the floor at that point.
Getting ready: The plywood and backer board should be covered with a water-resistant coating. With a utility knife, the backer board may be trimmed to fit flat against the wall. Use cement screws to secure the object.
To ensure that everything is square, keep checking your levels. To prevent grout or thin set smudges, use some broad painter’s tape from 1/2 inch above the countertop up the wall.
start working; As directed, combine thin set. Starting at the front corner, tile your way back. The front and sides of the wood are covered with V-cap tiles, which also form the beginning edge.
Place your tiles between the v-caps using spacers. Good for little countertops is 1/8 inch. Make sure the backs of the tiles are coated with the thin set before gently pushing them down.
Tiles will need to be trimmed using a wet saw to fit in the rear row and at the rounded corners near the sink. To create accurate cuts, flip the tiles over and sketch around the holes.
The backsplash and exterior tiles may be held in place until the thin-set hardens using duct tape. Give tiles 24 to 48 hours to dry.
Remember the grout: Get your spacers out and start mixing the grout. For moist areas, unsanded grout is recommended.
Even colored grout is an option if you want it to match the tiles. The grout should be pushed between the joints after being placed in a small mound on the tiles.
This is made easy with a tile float tool. Fill each and every space. To get rid of extra grout, cover the whole surface with clean water and a sponge.
You might also clean the area with clean water and a gentle brush. You’ll be prepared to apply tile and grout sealer, which comes in brush-on liquid or spray solution, in approximately an hour.
Apply three applications, waiting between each for drying. Quantity of Materials Required: It provides you more space to work in the bathroom with the vanity out of the way if you remove it before tiling the floor. However, it also implies that you will need more material than if you were to tile around the vanity.
If your vanity is tiny, the additional material may not have a significant impact on the cost of your project. It may take a lot more tile, mortar, and grout to the tile below a huge vanity.
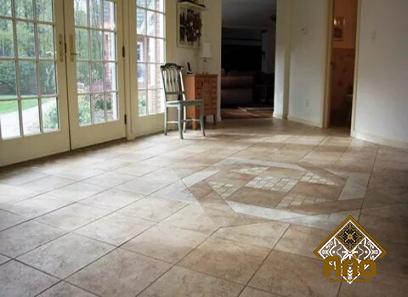
Cutting tiles and finishing touches: How much cutting and detail work is required when tiling a bathroom floor depends on whether or not the vanity is removed.
The amount of tile and backer board cutting required to maneuver around the installation is reduced if the vanity is removed.
The tile may be installed wall-to-wall when you aren’t working around a vanity, which often requires fewer cuts since you don’t have to walk around the bathroom cabinets.
The vanity may conceal any faults or uneven cuts as it covers the tile that runs along the wall. You must take additional care to cut the tiles exactly since any cracks or uneven cuts will show when the tiles are trimmed to fit around the vanity.
Additionally, extra sealing is often needed when tiling around the vanity. You must guarantee a tight seal between the tile and the vanity since the tile ends at the edge of the vanity.
If you don’t, water may leak into the crack and harm the vanity and flooring. Tile underneath the vanity: Tile the floor under the vanity if you decide to remove it, much like the rest of the floor.
Install the new piece of hardware through the tiles and into the floor to restore the vanity when the time comes. With linoleum or vinyl tiles, this is the simplest.
Consider tiling around the vanity or installing a new one before you start tiling if you’re using ceramic tiles since drilling to install the new vanity might create major fractures and cracks in the tiles.
Bathroom Vanity Tile: The backer board and tiles must be trimmed to fit around the vanity’s base if you choose not to remove it.
When cutting to install around things, be careful to adhere to your manufacturer’s directions. To allow for expansion owing to variations in temperature and humidity, certain tile manufacturers need a gap.
To stop water leaks and moisture damage to the backer board or vanity base once the installation is finished, bathroom caulk should be used to cover the space between the vanity and tiles.


Your comment submitted.