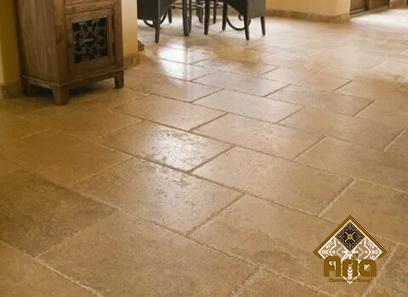
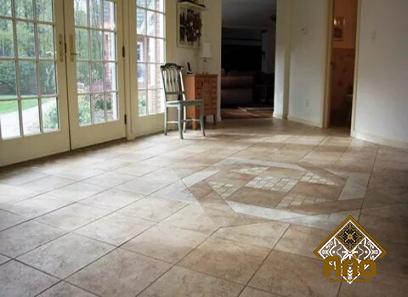
Peel and stick tile is an extremely thick vinyl peel sticker that mimics the appearance of ceramic or porcelain wall tiles in terms of both texture and color for your bathroom, kitchen backsplash, and other parts of the house.
They are common because it is easy and simple to install them. So we will tell you the easiest installation method. You can piece together the 12″ or 10″ square portions that typically make up a 3D backsplash.
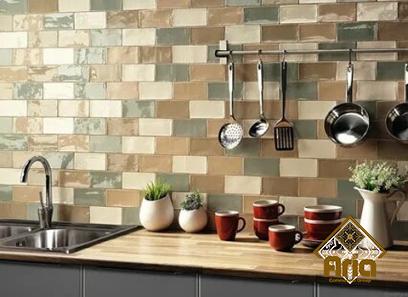
Like ordinary tile, it is available in a variety of shapes and designs. The backsplash material I utilized in my studio kitchen was a stuck subway tile in warm white color with grout that had a grey appearance.
For the price I bought (Dollarama!) I was first pretty delighted with it because it resembles high-shine glass.
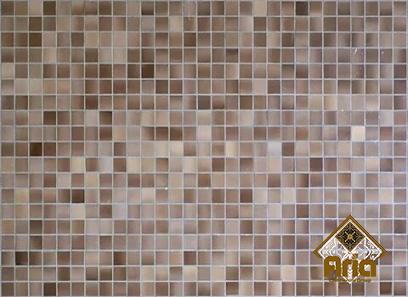
Because it is simpler for me to line up the pieces, I favor using larger scale tiles rather than stick mosaic tiles.
You need to choose a design that suits you out of the many various peel and stick tile options available! Similar to regular tiles, they come in a range of sizes and colors.
With this product, you can easily transform various areas that would typically have ceramic tiles for a fraction of the cost of a typical tiling project.
These tiles are a terrific method to achieve the modern, sophisticated look that everyone enjoys at an affordable price!
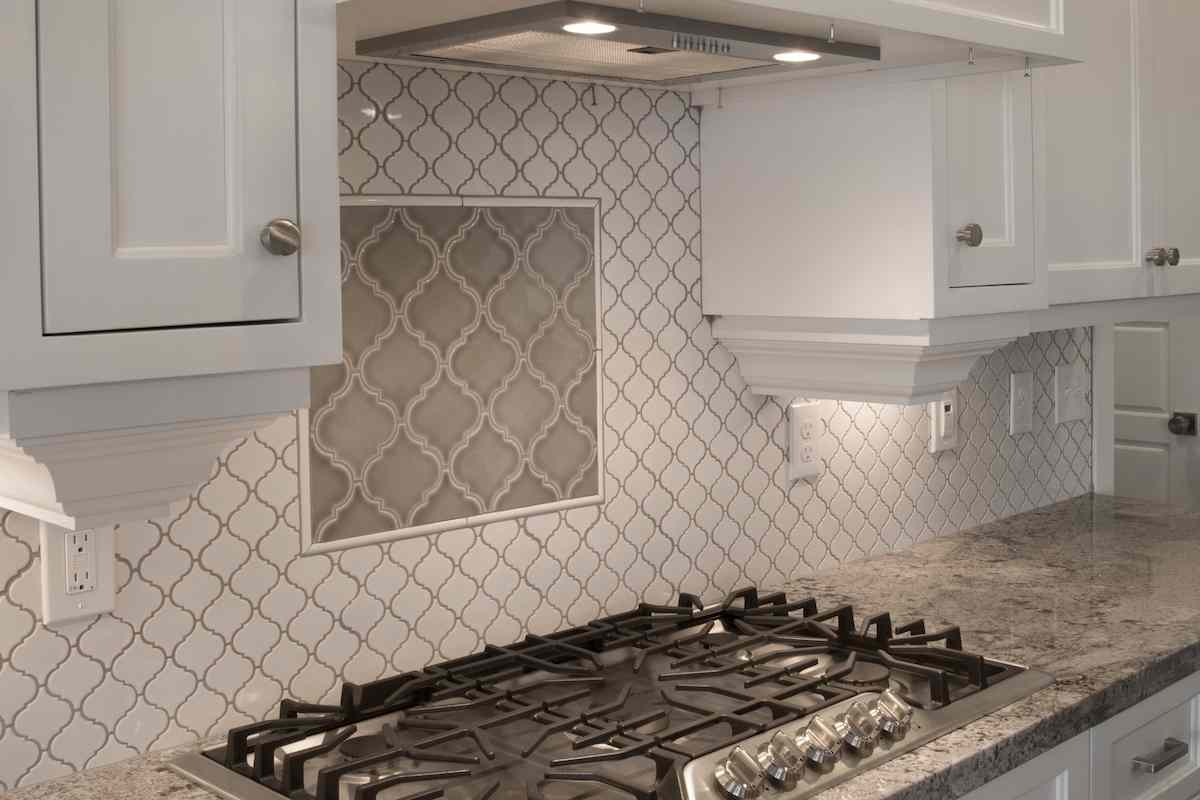
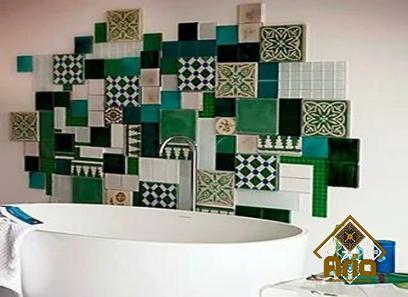
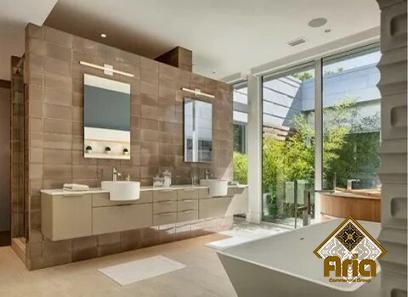
If you believe that the only option for a backsplash made of peel and stick tile is a white subway tile, think again! Peel and stick tile has a huge variety and adaptability.
It comes in a variety of patterns, including geometric or hexagonal ones, clean, basic lines with a classic appearance, and more if you want a crisp white appearance, wonderful! It’s also wonderful if you want a splash of color or a gorgeously patterned tile. It imitates a wide range of materials often used for tiling, enabling you to create any style.
You can discover what you’re searching for in peel and stick tile, whether you want to add a final touch to a farmhouse or vintage design.
CAN YOU PEEL AND STICK THE TILE?
Peel and stick tile has been successfully placed three times by me. It was simple to install and strong enough that, three years later, our camper, which is left outside in terrible weather conditions, still hasn’t come off the wall! I’ve used peel and stick tiles from Dollarama, Amazon, and SmartTiles.
You might see a little lifting in the corners over time, depending on the caliber of the tile used. Only the most inexpensive tiles have ever caused me to experience this, and if you really wanted to, you could fix it by dabbing a little hot glue here and there.

Naturally, this would make removing the tile later even more challenging, so bear that in mind while selecting your product! This might not be the ideal choice because they are frequently utilized in situations when you want a temporary, cost-effective solution (like if you are renting).
However, in general, if you spend the extra money on high-quality adhesive tiles, you’ll be astonished at how well they hold up over time. In fact, in my opinion, these more expensive tiles can be used as a long-term tiling solution.
BEST PLACES TO BUY PEEL AND STICK TILES
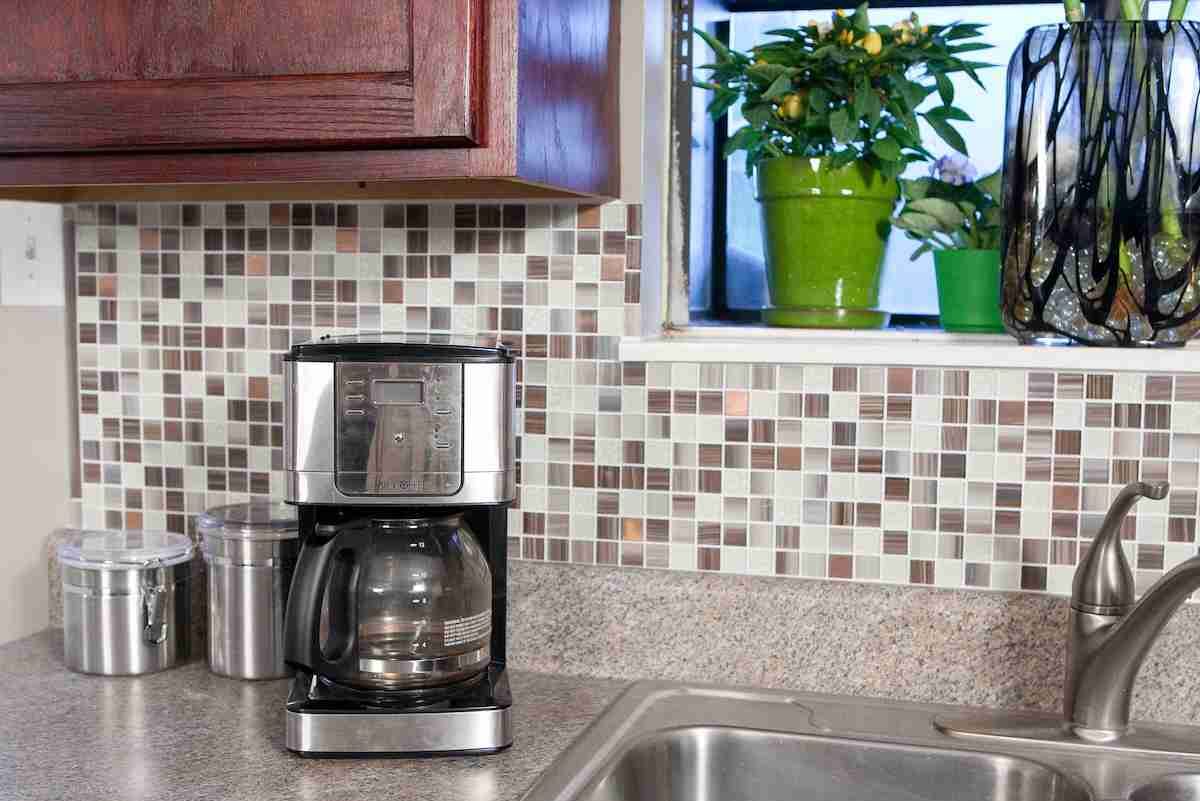
A few times ago, I put peel-and-stick flooring using three distinct products: Dollarama tiles, SmartTiles, and Amazon tiles. While all three gave my project areas a genuine tile look, they didn’t all operate in the same way.
I used Dollarama tiles to create a traditional subway tile effect in my studio kitchen. Each sheet just costs $3.50! After a few months, I started to see some lifting of the tile corners here and there, which obviously screws with the new tile backsplash appearance I was striving for, even if I initially really liked the way they appeared.
Additionally, I’ve noticed that the stick panels have some subtle color differences. They should all be the traditional white color, but some are a little more grey.
Although I believe they would be ideal for tiny crafts or spaces, I wouldn’t advise using these for a DIY project of any size.
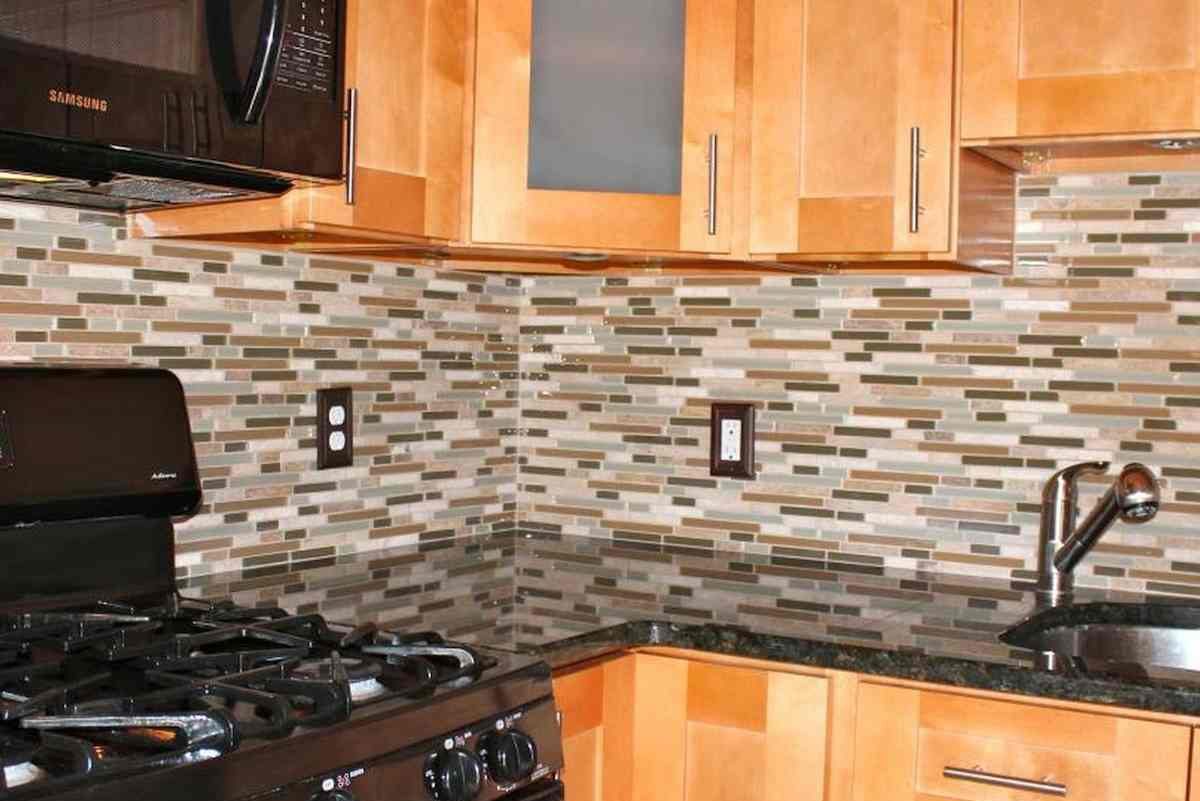
Five months after I installed the Amazon tile sheets in my DIY Camper 2.0, I checked on them, and they are still in good condition.
Since I had to move them two or three times during installation, there was some lifting where I made a mistake. Despite the fact that I clearly made a mistake, this tile was rather forgiving and remained sticky after being moved a few times. The hardest tiles for me to install were those in the Amazon mosaic design.
So now we know the outcome! The brand-name tile SmartTile has the best performance. They cost more but based on my experience. They will endure the longest.
Despite being exposed to temps ranging from -40 to +30 degrees Celsius for three years in my first DIY camper, the tile still looks wonderful. This is a good example of the saying “you get what you pay for,” and I would suggest it for bigger DIY projects like your kitchen.
DOES PEEL AND STICK TILE OVERLAY CURRENT TILE? AROUND A STOVE? THE SHOWER?
As long as it is somewhat flat and clean, most peel-and-stick tile backsplashes will adhere to the existing tile.
I have installed peel and stick tile over an electric stove, but I wouldn’t do it over a gas stove due to the heat or on a shower wall due to the high moisture levels.
We really don’t use that sink all that much, so I did place them above it in our camper bathroom because I didn’t think moisture would be a problem there. Despite being water resistant, I would never classify these as waterproof.
A PEEL AND STICK TILE BACKSPLASH INSTALLATION GUIDE
Make sure the surface is clean before you install the tile. The tiles will adhere to a clean, dry surface best, so use a degreaser to clean the area thoroughly.
They’re simple to cut! For this task, I prefer to use a ruler, a pencil, and normal scissors. Although a utility knife or a box cutter-style tool might be used, I personally prefer to use scissors since I feel like I have a little bit more control.
I believe tiles can be moved around once. Two times is excessive and eliminates the backing’s stickiness, especially if you’re using less expensive tiles. Before you smooth your tile sheet to the wall, make sure it is in the proper position.
Before you remove the tile’s adhesive backing, please give it a dry run.
I advise you to view the installation tutorial below before you begin. Going around outlets, cabinet corners, windows, and other edges might be challenging. I’ll lead you through the installation procedure in these locations to reduce waste.


Your comment submitted.