
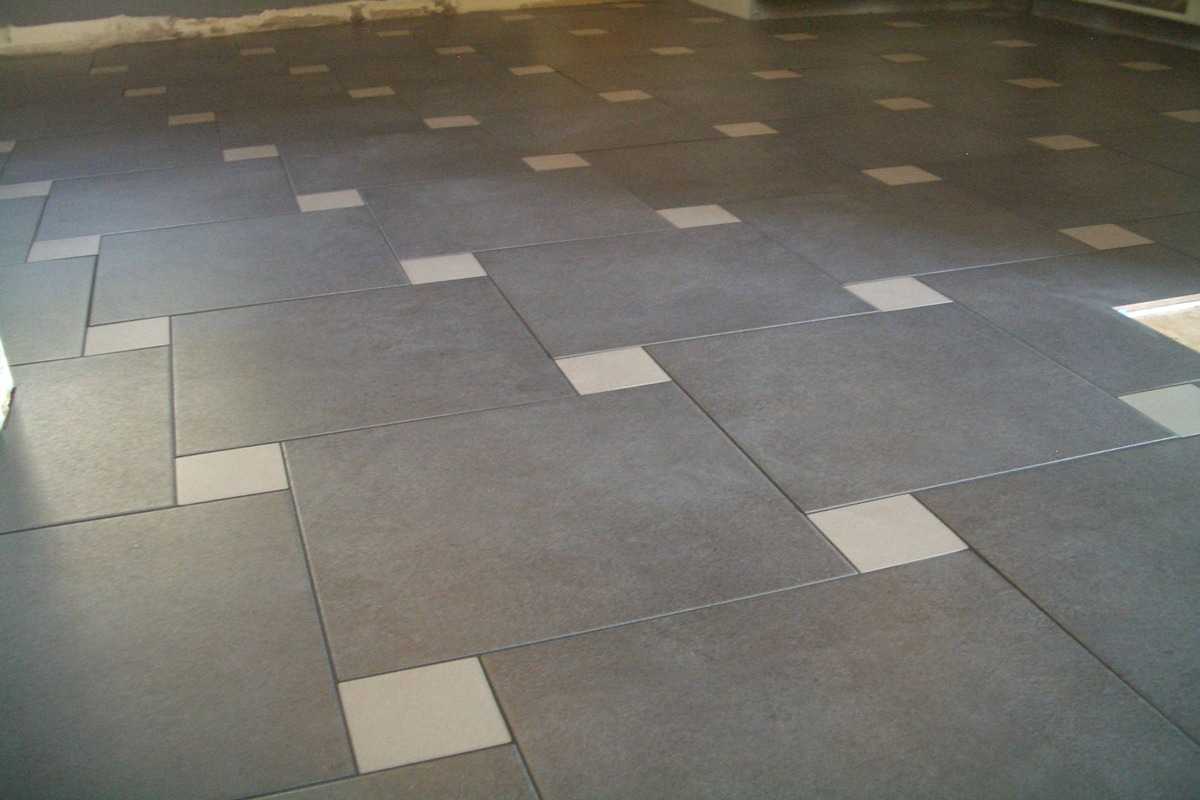
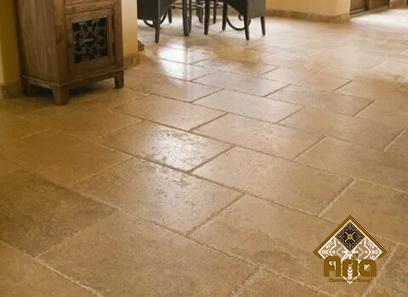
Since tiles are rigid and unyielding on the floor in a new house, cracking may appear as a result you will think about the cause, prevention, and management of this issue.
Construction professionals are aware that cracks that appear in rows across multiple tiles or along grout joints are a sign of movement in the substrate or the structure.
In a new development, cracked tiles are obviously an unwelcome problem because they make the floor finish visually unappealing and may one day present a safety hazard. A tile crack can be seen as the initial sign of a bigger problem from the standpoint of diagnosis.
Some people may initially assume that cracked tiles are defective or improperly installed if they see them. It’s crucial to realize that these cracks can be avoided, repaired, and are also a natural occurrence that can result from substrate cracking caused by the movement, settlement, or subsidence of a new structure.
In this article, we discuss the causes of tile cracks, how to diagnose and address the underlying issue, and how to avoid tile cracks in new construction.

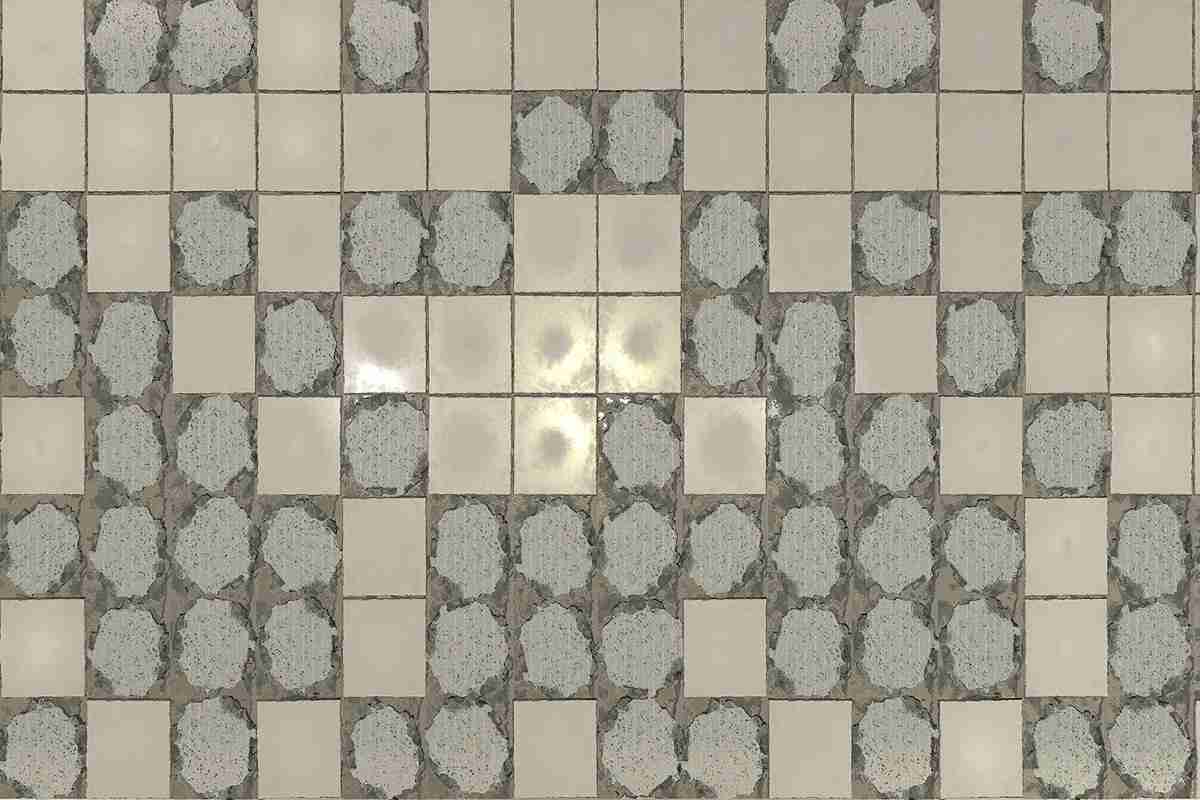
our projects with insight and knowledge. Understanding the Source: A visual examination of the surface is typically the first step in determining whether a section of tiles or a single tile is cracked.
It is important to pay attention to the size, shape, and location of any cracks, whether they are small or large, near a doorway or running the full width of the room.
Given that the origin is frequently brought on by movement under the tile, pinpointing the exact cause of a crack can be challenging.
Fixing the Issue: Making a decision on how to solve a problem often needs the input, knowledge, and participation of many different professions and specialists.
Of course, the tile installers work with other parties to solve issues, such as the engineer, architect, project manager, builder, concrete pourers, screed installers, etc.
Finding a fix for the fracture can call for an investigation strategy that considers the many phases of construction to identify the root of the problem. It is also necessary to assess the current substrate to evaluate if it is safe to replace the tile right immediately.
Otherwise, there is no use in repairing the tile if there is a chance that the building may move further. Finding the cause of the fracture is often a question of removing tiles from the surrounding area, examining the substrate, and performing the appropriate corrective action before re-tiling the problematic region.

Settlement is the natural placement of a built structure after construction. The building moves into a permanent place throughout this procedure.
As a result, there is more freedom for movement and a greater chance that the structure may break in various places. Within the first to 10 years after construction, a new structure settles most of the time.
What Causes Tile to Crack? There are five basic causes of tile cracks. The subfloor must be appropriately prepared in the first case. The installer must make sure that the subfloor is clean in addition to making sure it is solid and level.
Third, if the expansion joints are too small, the tile floor may fracture. How do expansion joints work? These are the gaps that were left following the installation of the tiles and are afterward grouted.
These connectors serve as pressure points for redistributing tile pressure. They won’t have enough area to expand and compress, which will result in cracking if they are too thin.
Fourth, a foundation issue may result in tiles popping at the grout lines or developing surface fractures. When a home “settles,” this may occasionally happen because the subfloor will shift more than the tile floor covering, which is the most delicate part, can handle.
This can lead to cracks and ruptured tiles. A certain amount of flexibility between the subfloor and the floor covering may be permitted by an uncoupling membrane, which is often sufficient to prevent damage.
Finally, since concrete itself is prone to cracking, tile floors laid over a concrete subfloor are the most vulnerable. By including a crack isolation membrane during installation, reflected cracking also known as reflection cracking can be readily avoided. Tile crack management and prevention.
Isolation of Cracks Membranes may be applied to substrates to stop cracks from forming in the future before installing tiles or to repair cracks that have already formed after damaged tiles have been removed.
These membranes are designed to enable tile separation from the substrate, allowing the tiles to move independently and absorb any stress.
To account for lateral movement (side-to-side) across regions that provide a possible danger of tile cracking, anti-fracture or decoupling mats may also be used.
It’s crucial to remember that even with the usage of these mats, any vertical movement may still be transmitted to the tile.
Only flexible, high-quality materials are used by Specialist Ceramics in order to enhance product performance and flexibility against substrate movement.
Remember that flexible materials can only adjust for a certain amount of movement, shrinkage, or breaking. Another protective precaution is the use of movement joints, often referred to as control joints or expansion joints, on vast floor surfaces.
In rooms bigger than 10m x 10m, it is crucial to make sure the tiling joints line up with the existing control joints on the substrate to prevent any voids brought on by substrate movement.
The expansion joint’s usage of a flexible silicone or pre-engineered control joint serves to permit movement. In order to determine where movement joints, flexible joints, and contraction joints should be used in relation to the kind of material used, the building designer should evaluate the size of any stresses on floors and walls.
The purpose of perimeter floor joints is to isolate the floor tile from vertical structural components like walls. By taking into consideration the movement of the substrate or tile after installation, they provide the same prophylactic function against cracking.
A perimeter joint should have a minimum width of 6 mm and extend all the way down to the substrate or decoupling mat.
Installing skirting around the perimeter joint to offer an attractive finish, followed by the application of sealer or silicone at exposed joints, is the recommended method for a professional finish.
At Specialist Ceramics, we’re used to analyzing the particulars of every project to avoid delays. When issues develop, we are always ready to put in our best effort to identify the best, most affordable solution.


Your comment submitted.