Without the proper tools and special process knowledge, making ceramic tiles or flat slab forms can be highly disappointing, usually owing to warpage. You might find the following tutorial useful for generating effective handmade tiles.
Clay Body
Starting with a high-quality clay body for tiles is the first step. Typically, this refers to tiles with a lot of grog. Sculpture and Raku clays are typically ideal choices for producing tiles. Some people have great faith in clay bodies that include both enormous and little grog.
For longevity and waterproofness, you want a clay body that ages at the same temperature as your glaze’s firing.
This is especially important for exterior or bathroom tiles. If the absorption rate is greater than 3% after firing, water will seep in and break the tiles.
Sometimes underfiring the clay makes it easier to produce flatness if waterproofness is not a requirement. Try experimenting with this because sometimes, if the clay is allowed to mature, a tile that is deformed after the bisque fire will become flat after the glaze firing.
The worst clay to use for tiles is often low-fire, smooth earthenware clay. Not only does it not fully vitrify, but it can also be quite difficult due to the lack of grog. These need to be sealed several times a year because they are low fired (unvitrified) and unglazed, which makes them readily dirty.
Utilizing the Clay
It is ideal for working with clay that is quite dry after selecting it. This lessens warpage issues.
Ensure the thickness of your tiles. Tiles that are too thin may likely warp. A tile that is 8″ square should be at least 0.5″ thick. This is thicker than the commercial tiles you may buy, although those can be made thinner because of a unique dry pressing method.
It’s crucial to avoid bending your slabs when they’re damp. If you do, the clay has a propensity to warp after it dries. So try to avoid bending them while handling the slab.
How? To begin with, if the slab has been rolled onto cloth, do not take the slab off the fabric. Instead, flip the slab over and place a hard board (such as plywood, drywall, etc.) on top.
Then, peel the fabric away from the clay. Or you might slide the slab without bending it onto a drying board.
Instead, you may roll the slabs right onto a board and leave them there flat until you can slide them off. When using slab rollers like the Brent, where the roller rolls over the immobile clay, this works.
Some people roll out the slab, flip it over, and roll it once more to prevent warpage. Particularly when using a slab roller with just one roller.
It is believed that the North Star type’s two rollers evenly compress the clay on both sides, eliminating the need for this stage.
To prevent the canvas from getting wet and the clay from sticking, as well as to remove the canvas texture from the tile, you can cover it with a variety of materials.
Sometimes, heavy Pellon is employed. It is an interfacing material that is available in fabric stores and won’t bunch up or stretch. Rolling slabs onto vinyl flooring and old lithographic printer mats is another option.
Substitutes For Rolling Slab
Some tile throwers use wheels. Determine the diameter you require to toss the tile from corner to corner; taking shrinkage into account, mark that size with a magic marker on your bat, and then throw it to the mark.
To ensure that the tiles are always thrown to the mark at the same thickness, weigh the clay balls.
Some individuals tap the tiles. You can create a bottomless wooden frame, press the clay into it, trim the excess with your wire saw, and then push the clay out the bottom. Use a piece of wood the same size as the clay to push it through to prevent bending.
To prevent the clay from sticking to the board, either let it dry completely or spray the wood with something like WD-40 or cooking oil.
Some individuals just cut their tiles from the pugged clay block. You can purchase tools that function similarly to cheese slicers to cut the clay off at a specific thickness.
Alternatively, you can create your own by cutting notches at regular intervals into two wood dowels (or wood strips) (one-half inch apart for half-inch thick tiles.)
Starting at the top-notch, wrap a length of wire between and around the wooden dowels. Pull the wire evenly through the clay while holding onto one piece of wood with each hand, pulling it tight as you do so. As you pull, make sure to keep the wood pieces vertical. Then repeat by moving the wire to the following lower notch.
Cutting Tiles
Wait until the clay is leather-hard before cutting the actual tiles out of the clay. Additionally, if you’re embossing designs, be sure to do so prior to cutting the tiles out; otherwise, the pressing motion will distort the shape.
To make it simple to cut out tiles of the same size, create a template out of metal or wood.
Drying
Flat shape drying is essential. The tiles must dry equally on both sides in order to avoid warping. Keep them out of drafts and cover them with plastic to dry them slowly. Tiles can be dried using one of two methods.
- Sandwich each tile between two drywall pieces (also called sheetrock.) This is the material used to construct walls. Many tiles can be stacked by sandwiching them between sheets of sheetrock. Both sides have an equal removal of moisture. Drying between layers of three-quarter-inch thick plywood or calcium silicate board is an alternative to doing this (often used as a non-asbestos fireproofing board).
- To dry the tiles, place them on a wire rack. This enables efficient airflow. Drying on plastic grids, which are frequently used in fluorescent light fixtures, is an alternative to this.
Other slab and tile-making advice: – Start with the drywall approach, then switch to wire racks.
– Before the edges dry, wax them. As a result, they don’t dry up as quickly as the center. Alternately, cover the borders with dry cleaning plastic.
– Overnight, weigh the corners by laying a kiln post over the adjacent corners of two tiles.
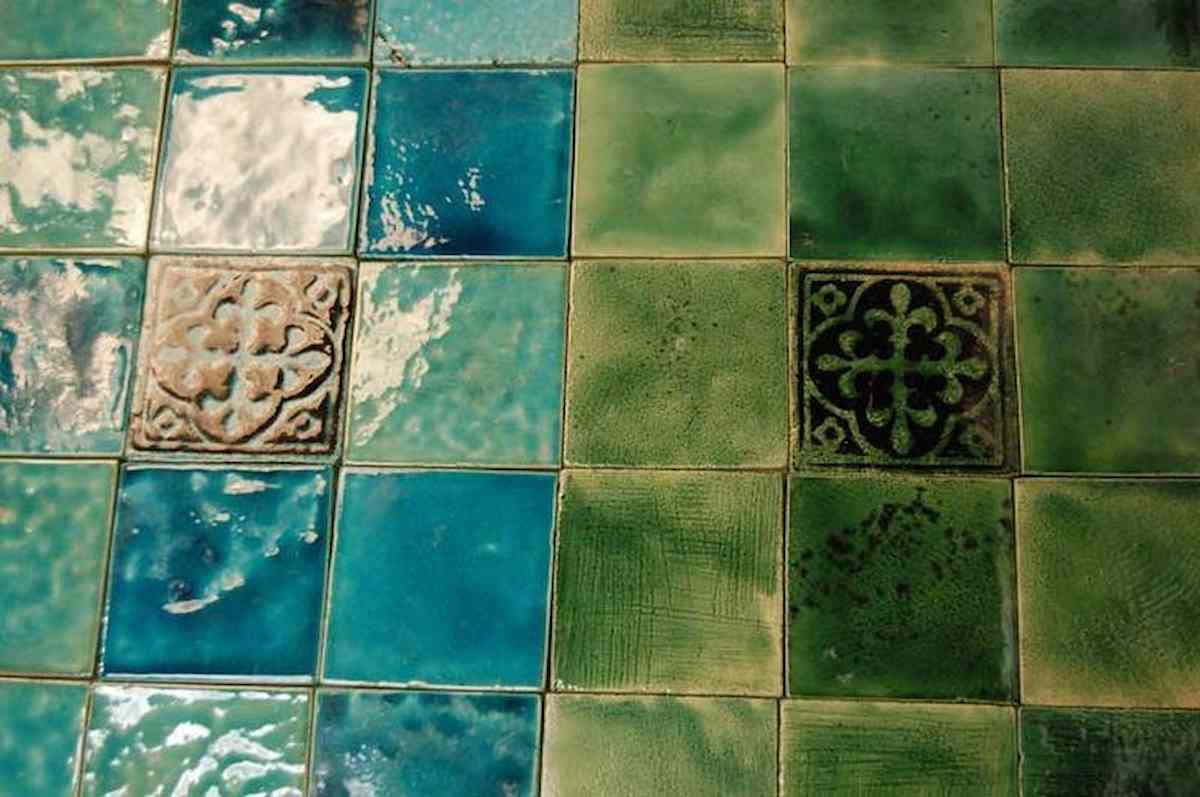
For practical tiles, grooves are frequently carved onto the backs of the materials.
They can adhere to more surfaces and penetrate the mortar bed more effectively as a result. Rolling the tiles out onto corrugated, grooved cardboard is an innovative approach to get the grooves. Warpage doesn’t seem to be impacted by grooves.
Fire the Tiles
Tiles can be placed in a tile setter or stacked on top of one another for bisque firing.
Tiles can be placed in a variety of tile setters to be fired with glaze at low temperatures. The tiles will sag at high temperatures if you use high-fire clay and burn it to maturity. In these situations, a smooth surface is required while firing the tiles.
Fire tiles on a shelf of the kiln are covered in silica sand.
By placing clay bars around the perimeter of your tiles, you can create a moat. This enables them to warm up from above and below rather than from the edges more quickly.
When constructing your tiles, keep in mind that clay may shrink, and you must account for this. Take a slab of clay, and incise a line that is 100 millimeters long. Measure it again at bisque and high fire temperatures. The shrinkage rate is 10% if the line is 90 mm long after it is finished.
Your shrinkage rate is 13% if your final measurement is 87 millimeters, for example. Keep in mind that there will be shrinkage between wet and leather firm, so make the first line at the same dryness level as you will be cutting your tiles.


Your comment submitted.