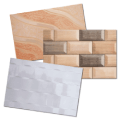
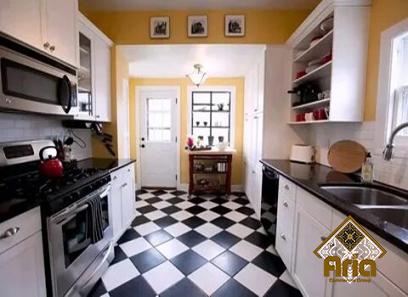
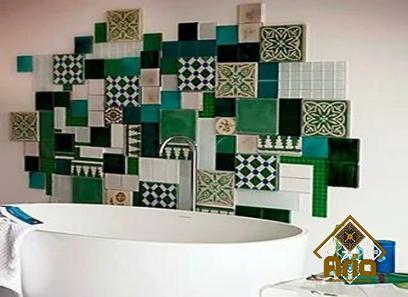
Over the past few years, cheap decorative tiles could successfully corner the market. These tiles can be used for wet places such as the kitchen wall or floor.
So it means that based on the applications, there are different choices. Flooring is one of the key design elements and accounts for a large portion of a home’s renovation budget. Since floors are subject to rough handling, we need to ensure that the materials we choose are durable and maintain their appearance for many years. Check out these 7-floor tiles, they may be the best choice for you.
- Porcelain and ceramic tiles
Tiles and tiles are made of clay, but tiles are stronger, denser, and heavier than tiles. The similarity between these tiles is that they are available in a variety of colors, patterns, finishes, and textures. Porcelain and tiles are stain resistant, waterproof, and easy to maintain. Unlike ceramic tile, porcelain tile is less likely to crack or peel and is more expensive than ceramic tile.
- Vitrified tiles
Vitrified tiles go through a process of vitrification in which the clay and silica present in the substrate of the tile mix to form a vitreous substance which makes the tile non-porous. Vitrified tiles are available in a variety of sizes and designs to replicate the look of natural marble.
They are extremely durable, easy to maintain, stain resistant, and have a highly reflective surface which makes the home look more spacious. A disadvantage is that glazed floors can become slippery when wet.
- Laminate flooring
Laminate wood floors are made up of multiple layers that are pressed together under high heat and pressure. The top layer is an abrasion-resistant layer made of a transparent hard plastic sheet. Laminate floors replicate the look of natural wood and add warmth to interior design.
It is stain and scratch resistant and easy to install. A major drawback is that if moisture penetrates the substrate, it can be damaged.
- Luxurious vinyl floors and tile
It is a peel-and-stick flooring material where you simply peel the adhesive from the plank and stick it to the subfloor. Luxury vinyl plank and tile floors are scratch resistant, waterproof, easy to maintain, highly durable, and available in designs that replicate the look of wood.
This flooring material is ideal for wet areas such as bathrooms and kitchens. A downside is that vinyl plank floors are not UV resistant and tend to fade in the sun.
- Vinyl flooring
One of the cheapest floorings on the market is vinyl flooring. This material is a thin and flexible flooring option that is easy to maintain and has a soft underfoot.
Vinyl sheets can be unfolded and installed in one piece. The downside is that it contains harmful VOCs which release gases into the air after installation.
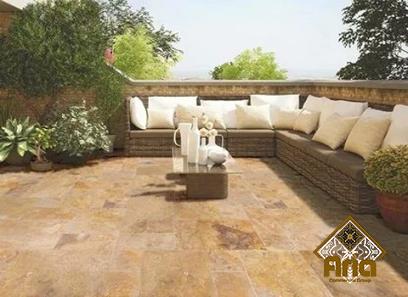
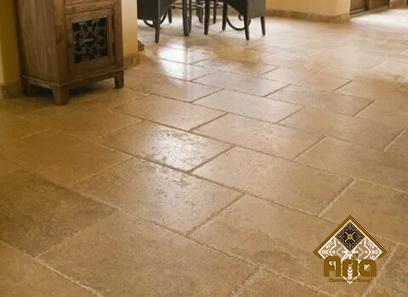
- Terracotta Tiles
Terracotta tiles bring a warm, earthy, and rustic look to the home – they are suitable for indoor and outdoor use and come in a variety of shapes and sizes. The disadvantage of clay brick is that it is very porous and absorbs moisture, so it must be sealed regularly.
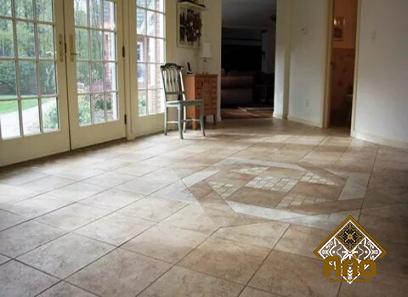
- Natural stone tiles
If you love the look of natural stone but find it an expensive flooring option, go with natural stone tiles. Some natural stones, such as marble, granite, and Kota, are available as pre-polished tiles. The best part about using natural stone tiles is that they are strong and very durable, and due to the presence of natural particles on each tile, no tile will be the same.
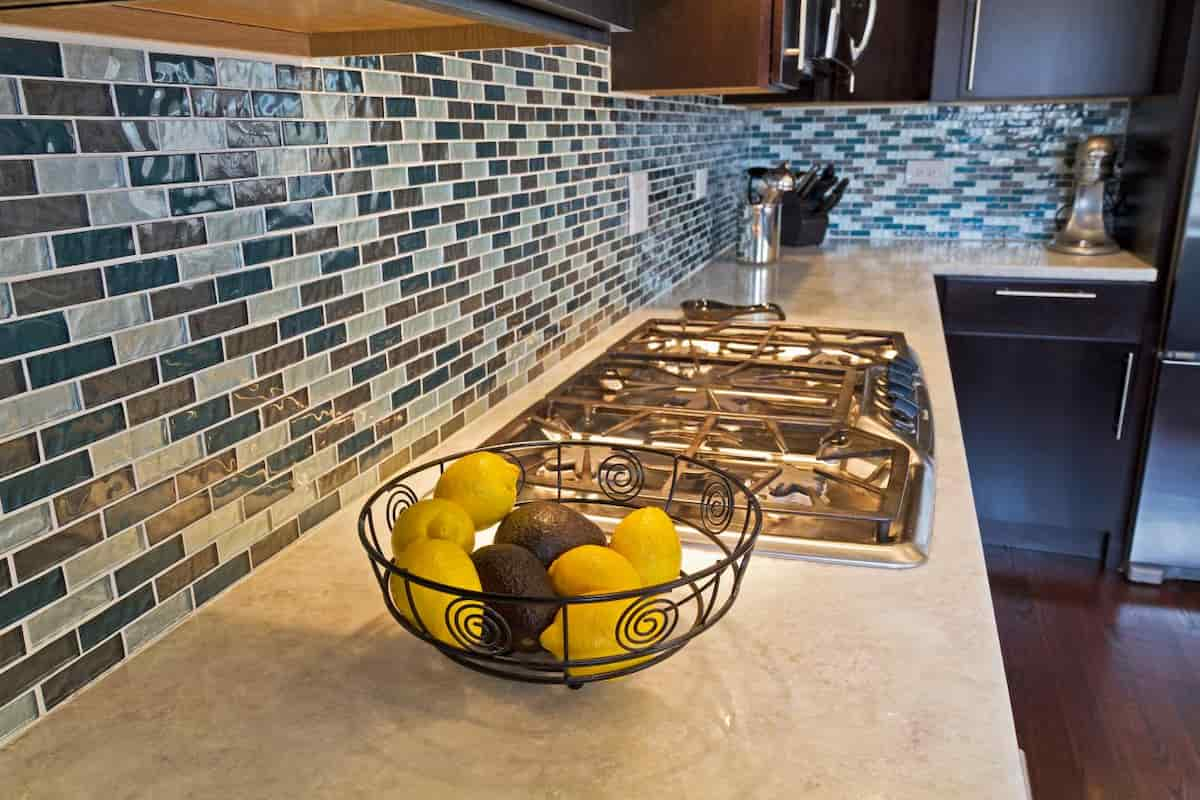
Cheap tiles for wet floor
Whether you select cheap tiles or you go for expensive tiles, there are some criteria that you have to bear in mind while choosing tiles for a wet floor.
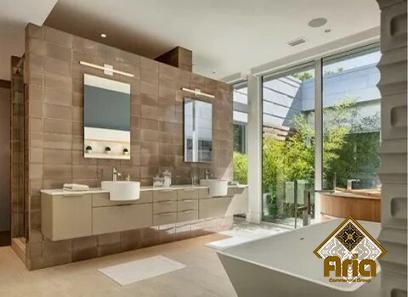
When it comes to wet rooms and walk-in showers, one of the biggest considerations is the floor finish material, the choice of floor finish will largely determine the type of wet room tray/pan which can be used Soil type.
No matter how careful we are, different areas of the house are more prone to water seepage. Rooms such as bathrooms, laundry rooms, and mud rooms will inherently see wet floors.
For reasons of safety and economy, it is important to consider the flooring you choose in these rooms. Staying away from high gloss tiles, whether ceramic, porcelain, or natural stone, is a good idea as they tend to be more slippery. If you like a high gloss look, combine it with a matte or honed finish, or use it in a tiled pattern to help reduce slippage.
Tiles are a great solution for wet areas as they are low maintenance and harder than natural stone and ceramic, so they are less likely to stain or peel.
Porcelain makers have made great strides in floor tile design and appearance, and have done a great job of mimicking the look of everything from various hardwoods to natural stone.
For wet rooms or walk-in showers, the most common floor finish choice is tile. Tile flooring also means you have the widest selection of bottom pallets / wet room pallets, as almost all wet room pallets are designed to accept at least one tile floor finish.
The wide range of tile styles, shapes, and sizes provide the widest range of wet room design and aesthetics. Additionally, a properly prepared, installed, and tiled wet room, with good care, should last a lifetime of daily living. When choosing tile as a wet room flooring material, it is important to consider several factors:
The best types of tiles for floors in wet rooms are porcelain, natural stone, or mosaic tiles. We do not recommend using tiles on wet room floors due to their structure, but they are perfect for wet room walls.
Tiles, including large-format tiles, are ideal for damp rooms. If you choose large format tiles, it will be necessary to use an “envelope” cut so that the laying of the tiles follows the tray of the wet room until the evacuation.
If you use linear drains with tile inserts, you can create a complete look on the floor and add to the beauty of the room.
Natural stone tiles have all the benefits of ceramic tiles, but due to their nature, they may need to be sealed before use to ensure they do not absorb any moisture.
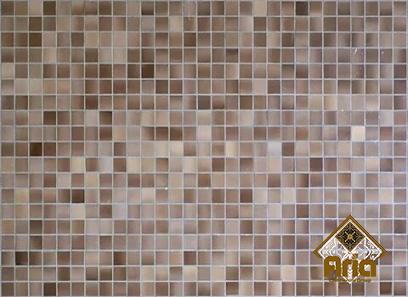
Mosaic tiles are ideal for following the contours of the wet room pan to the drain, maintaining a full drop for maximum drainage.
Since mosaic tiles are surrounded by more grout lines, they also tend to provide better slip resistance.
For the reasons mentioned above, some people choose to tile only the shower area with mosaic tiles, leaving the remaining area with larger tiles.
Since mosaic tiles are mostly supplied on mesh backs, laying them is quick and easy. If the mosaic tile is a natural stone, grouting may be required before selection.
Slip and Fall Rating
Tile ThicknessThe recommended tiling thickness will vary depending on the type of wet room tray used, which will depend on the depth of the drainage above the tray surface and the depth of the drainage insert (if it can be tiled ) itself. The thickness of the tiles should in no case exceed 6 mm.
Below 6 mm, the tile cracks easily. 10mm tiles are a better choice as they provide an adequate adhesive bed and are thick enough to withstand daily traffic in a damp room.
Floor heating
The tiles are ideal for use with underfloor heating (UFH) and when used with UFH they provide a very comfortable surface for bare feet. It is important to remember to check that the plinth chosen is also suitable for underfloor heating.
Ideally, the underfloor heating should be placed between the tray and the tiles in a damp room, as some trays have insulating properties and you may feel cooler if you place the UFH under the tray. Remember that the thicker the tile, the longer it will take to heat up to the set temperature.
Other notes:
If you are laying on wooden floors, it is crucial to have the right material on the floor first. The ideal material for overloading is insulating tile backing. The insulated tile backing is ideal for use with underfloor heating as it helps to keep the heat in the room rather than the space between the floor and the ceiling.
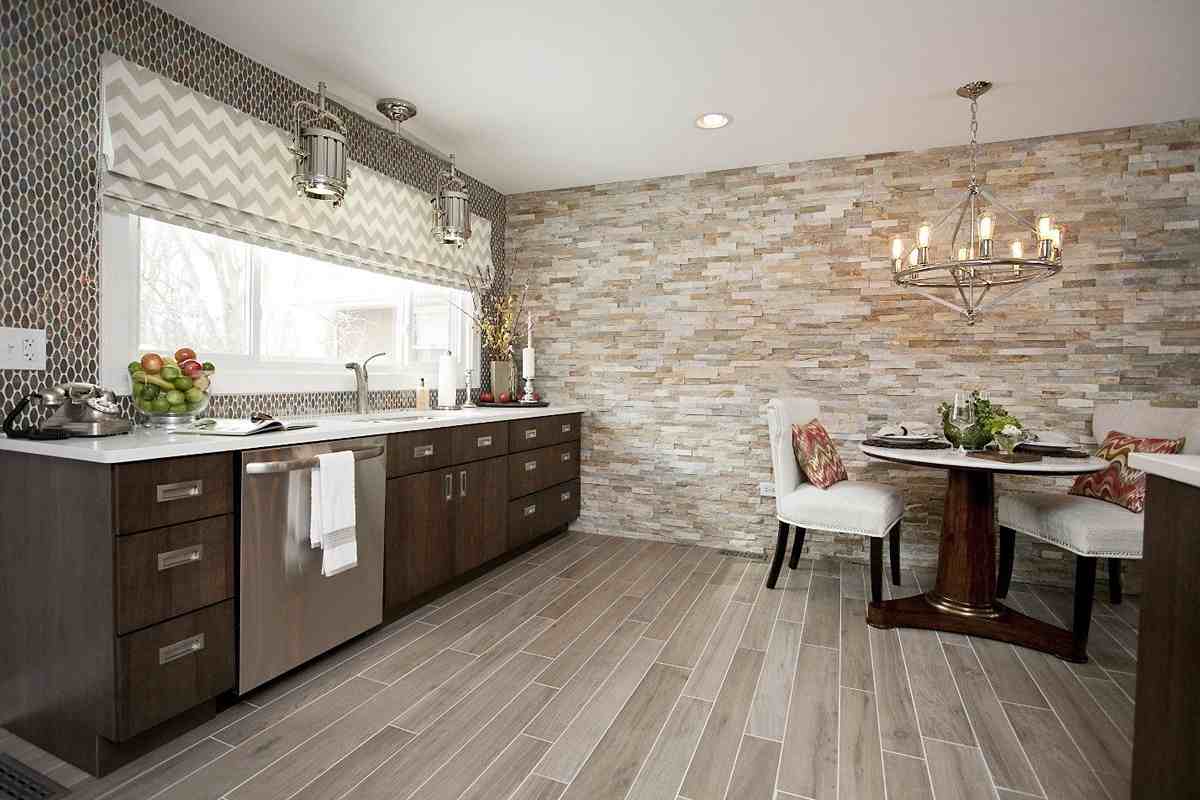
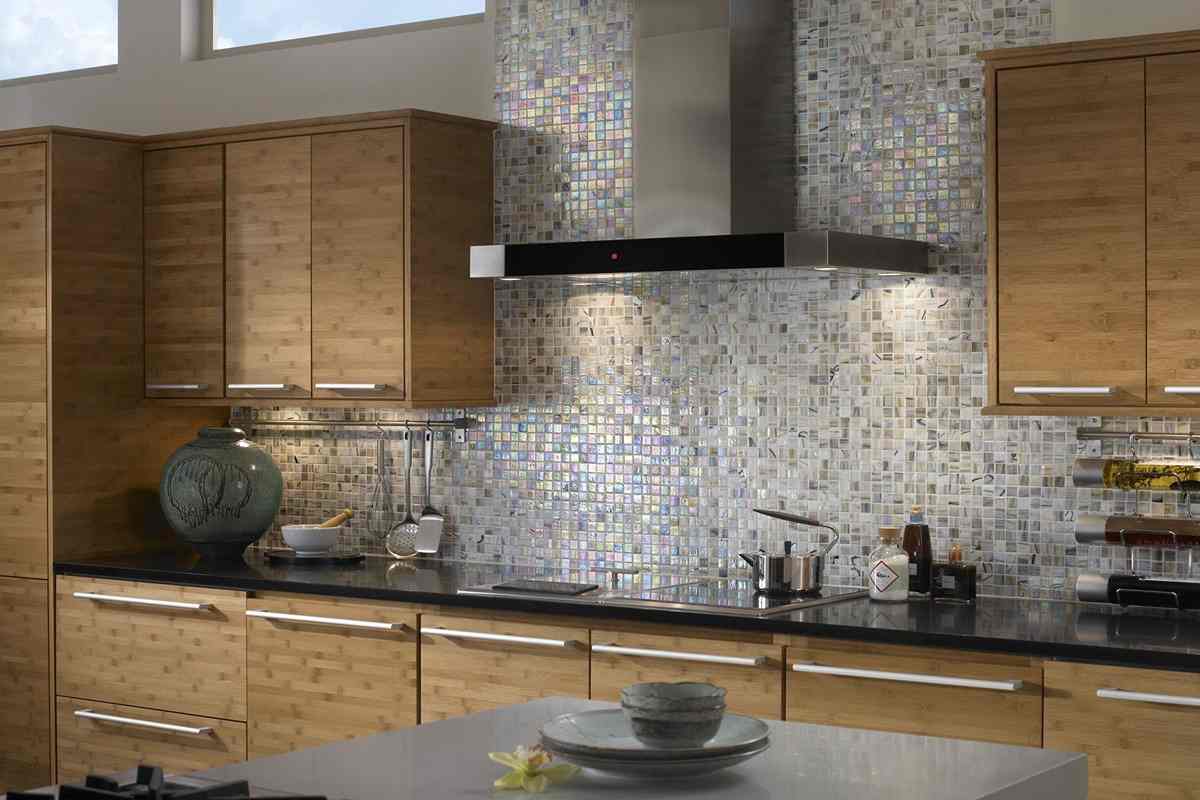
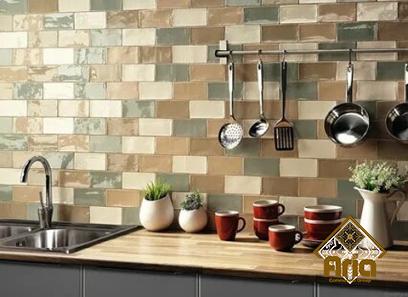
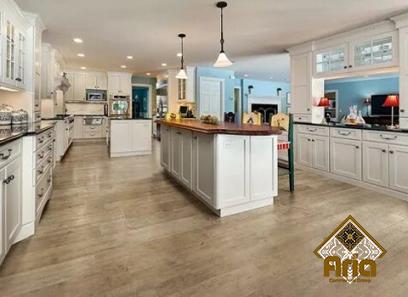
Interior cheap tiles for kitchen
The kitchen, as one of the highest traffic interior places in the house, can be covered with cheap tiles for those customers whose price is their first selection factor. Whether in a bathroom or a kitchen, installing tile is a project that can improve the look, while bringing a classic and lasting touch to the space.
Unfortunately, while tiling installations are a very smart investment, they can also be messy, noisy, and sometimes time-consuming projects.
When considering upgrading your home, big or small, knowing what to expect in the process before you begin can often make the inconveniences of the project more bearable. Here are some things a typical tiling project might involve, along with some helpful tips to make the project go more smoothly!
Much of the work happens in spaces where the tile already exists, so removing it is often the first step to a new installation. Depending on the age and quality of the existing tiles, they can be easily removed.
Tiles are designed to be moisture resistant, but in very old installations (or newer ones installed incorrectly), moisture can penetrate behind the tiles and destroy their bond, making removal relatively simple.
If the existing tile is relatively new and the previous installer did a good job, removal is noisier, more cumbersome, and takes longer.
This creates more problems for you and the staff and in some cases can increase the hours you have to pay. Of course, if it’s a larger renovation, removing the tiles may not significantly increase.
the overall cost of the project; on the other hand, if the existing tiles are relatively new and you just want to change the look of a single wall or a counter, be prepared for a slightly more complex (and potentially more expensive) project than you expect. originally thought.
After removing the existing hardware, the next step is to ensure proper preparation for the new installation. Kitchens and bathrooms are often abused and the surface you place your tiles on needs to be both solid and level.
Often, preparing a surface involves a lot of stripping, sanding, dusting, and noisy power tools. Although messy and noisy, surface preparation is necessary if you want your new tile to go any further. Fortunately, a professional team can quickly prepare the surface and move on to the next, less disruptive step.
Once the surface is ready, your team can spread mortar or grout where the tiles will be laid. While always messy, using mortar and grout in the final stages of installation doesn’t have to be noisy.
You may hear a saw or two being used to cut individual tiles, but once the grout drops, your tiles are in place and your project is almost done! It’s important to remember that bathroom and kitchen tile installation isn’t really complete until a few days after your team leaves the house. New tiles take time to heal and heal.
Floors must not be walked on for at least 48 hours after the tiles have been laid; likewise, tiled showers and countertops should be left completely free of moisture for some days so the grout can dry totally. For single bathroom kitchen tiles and fixtures, it’s usually a good idea to just take a two-day vacation while the grout sets.
Installing new tiles is a very affordable option compared to some other projects, but it’s still prohibitively expensive for many homeowners on a tight budget. However, grout replacement offers a quick and affordable way to give existing tiles a new look in a fraction of the time required for new installations.
Simple and inexpensive to replace (although a bit tedious), tile grout is a big part of the overall look of a wall, floor, or counter. If your existing grout is stained, moldy, and/or corroded, replacing it with shiny new grout can improve the look and life of the entire environment. When combined with tile polishing, grout replacement creates a world of difference for a very reasonable investment!

Your comment submitted.