One of the methods that makes your project easier is fixing porcelain tiles not inside, but outside, and knowing this method helps a lot.
At first appearance, the implementation of porcelain pavement appears to be the same level of complexity as that of other pavement implementations.
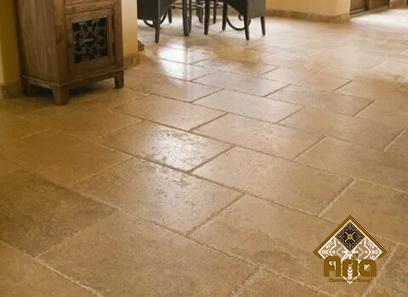
Porcelain, on the other hand, has an exceptionally low rate of water absorption, which is a critical attribute. Porcelain tiles, in contrast to other pavement materials, do not collect nearly as much moisture as they would otherwise. This has the advantage of preventing dirt and stains from building up on surfaces.
The capacity of the substrate mortar to attach to the tile is, however, hindered because the pavers absorb a relatively little amount of it.
Because unglazed porcelain tiles do not form a strong and stable bond with mortar, each paving element should be prepared with a priming mortar just prior to placing in order to produce a good and strong bond. This is necessary in order to achieve a good and strong bond.
To use it, you just need to brush it on, and the cost of your installation will go up by one penny. After the porcelain stoneware has been delivered to the place, a careful inspection for cracks and chips should be performed on it. It is important to put broken tiles in a separate pile so that they can be used in the future to “fill” cuts in other tiles.
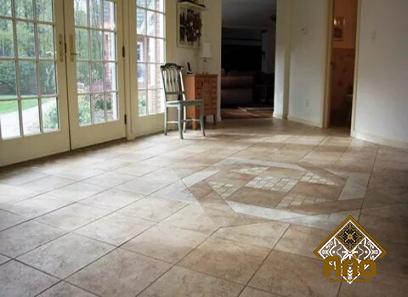
If possible, paver the finished patio in the same way that the proposed patio should be laid out. This will alert you to any prospective problems and help you steer clear of any unpleasant surprises in the future. In addition, you won’t need to worry about running out of pavers because you already have more than enough of them.
First, using a string line and nails, mark the spot where the drilling will take place. If the edge of the patio is not adjacent to a strong structure, such as a house or garden wall, you should leave a margin of 150–200 millimeters for edging or undercutting.
Because porcelain has a very low water absorption rate compared to other paving materials, the tiles won’t soak up nearly as much moisture as they would if they were made of a different material.
As a consequence of this, porcelain does not develop a stable and dependable interaction with the mortar that lies beneath it, and as a consequence, it absorbs relatively little from the mortar. In order to establish a firm adhesion, it is first necessary for each component of the pavement to be filled with priming grout.
After that, the grout priming paste is painted onto the bottom of the porcelain tile element using a broad brush, and this process is repeated until the surface is coated evenly. Carry out this step immediately prior to laying the tiles in the mortar underneath.
A rubber mallet should be used to tap the porcelain stoneware that has been “wet-primed” onto the mortar floor. Make frequent use of a straight edge and a spirit level to check that each component of the paver is level and in line with the string line. Additionally, check to ensure that the paver is firmly anchored and does not sag or slide.
If you think grout primer may have fallen to the ground by accident and landed on the pavement, clean it up as soon as possible since once it dries, it will be impossible to remove.
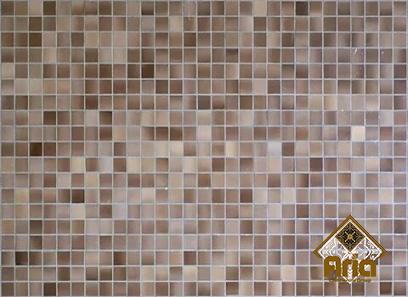
It is possible to combine tiles from different packs in order to prevent color banding and get the best possible color combination while installing multiple paver packs at the same time.
On a table saw that is water-cooled and dust-free, the cutting should be done with a diamond blade that was purchased with the express purpose of cutting porcelain pavers.
These blades do not have any space around the cutting edge. To put it another way, a diamond cutting blade is round and unbroken throughout its length.
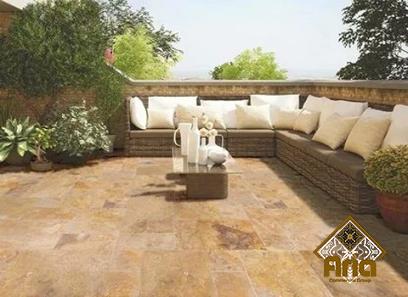
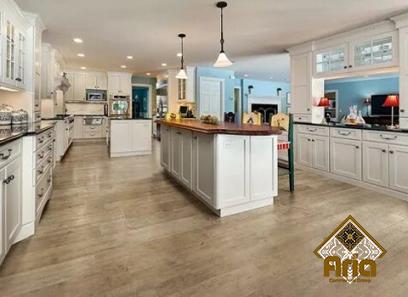
Now that the paving stones have been set in position and prepared, it is time to start working on constructing your patio. Do not misalign your feet. One of the most significant advantages of our porcelain stoneware tiles is their capacity to be rapidly and easily dried on surfaces such as grass, sand, or gravel.
It is suitable for use on rooftops and terraces in addition to being suitable for use in the installation of elevated floors. Using conventional tile installation methods and the appropriate adhesives, this collection of tiles can be affixed to concrete slabs in a variety of applications.


Your comment submitted.