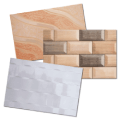
Decks are outdoor spaces that many people seek ceramic tiles to tile a deck, however, they don’t know how to tile a deck. So, in this post we are going to elaborate on ceramic tiles for outdoor and tiling a deck. Ceramic tiles have been used in the design and construction of buildings worldwide for the past 6,000 years, and they continue to be one of the most popular options for flooring that is now accessible. Ceramic tiles provide an abundance of color options, a wide variety of forms and patterns, and they are very resistant to wear and tear as well as ultraviolet rays.
To answer your question, yes, you can use ceramic tiles outside.
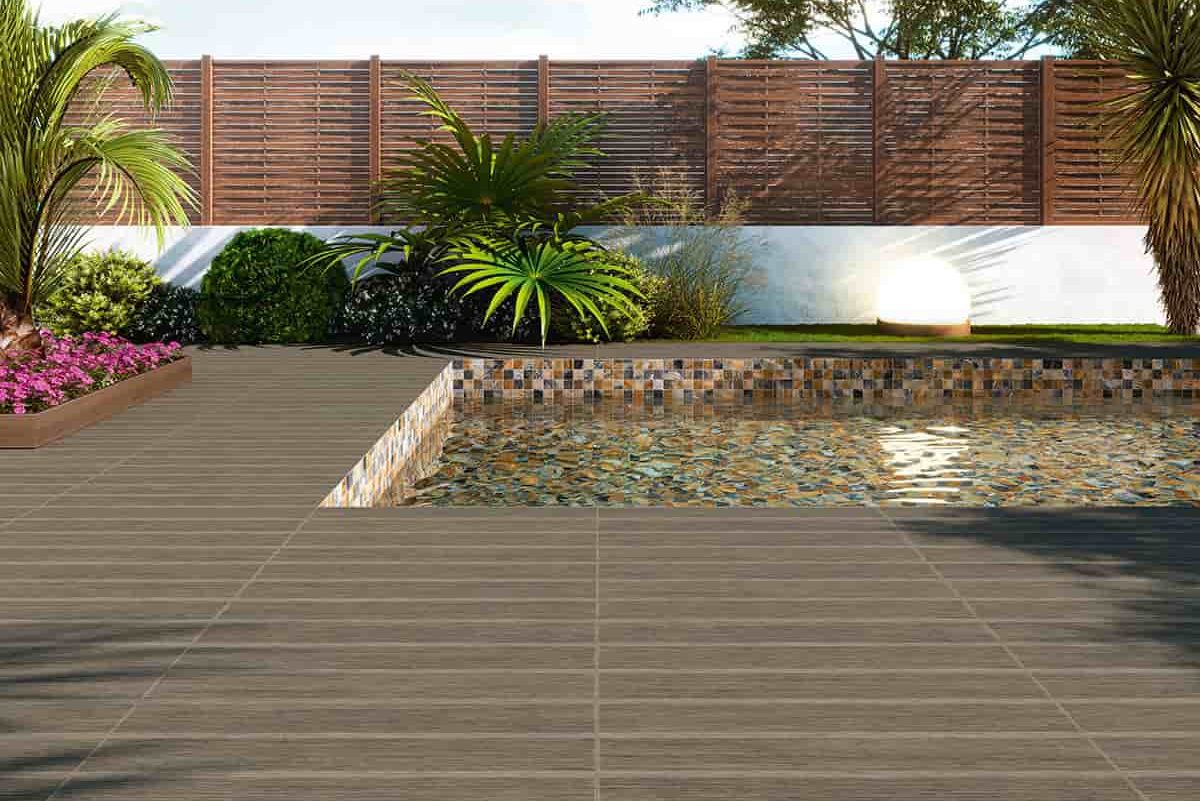
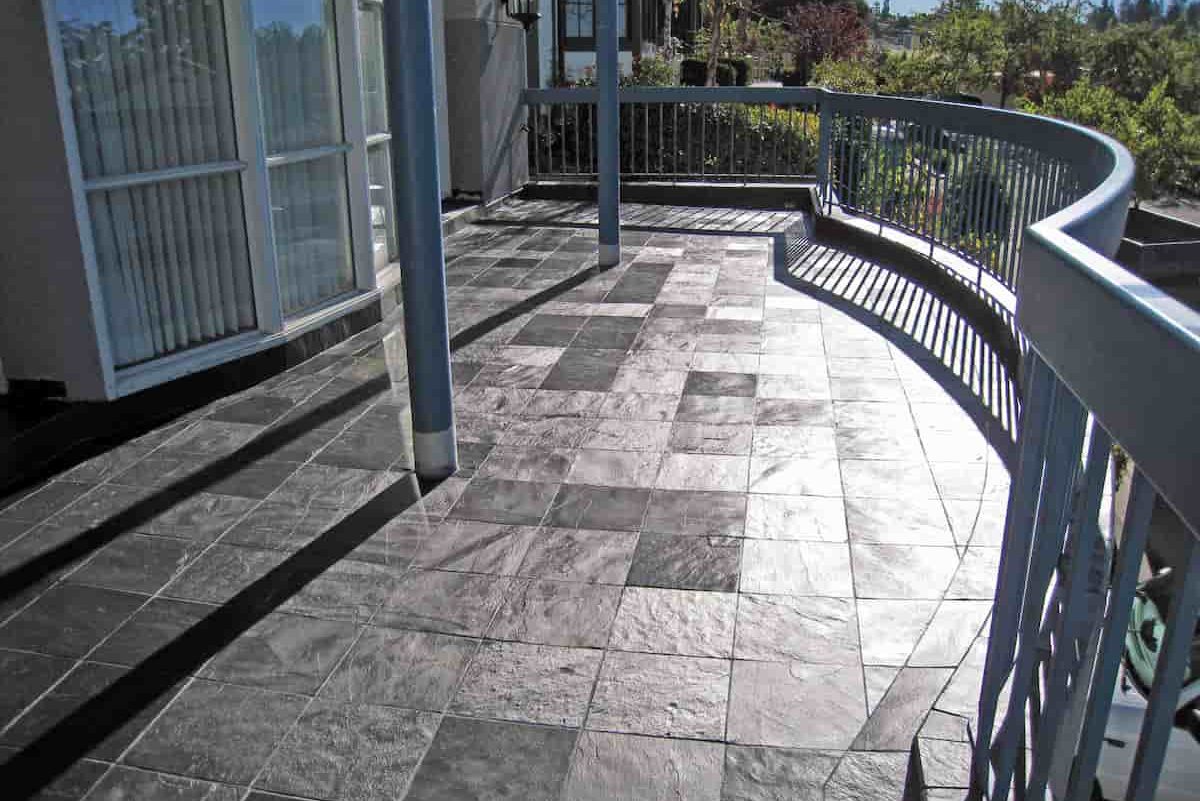
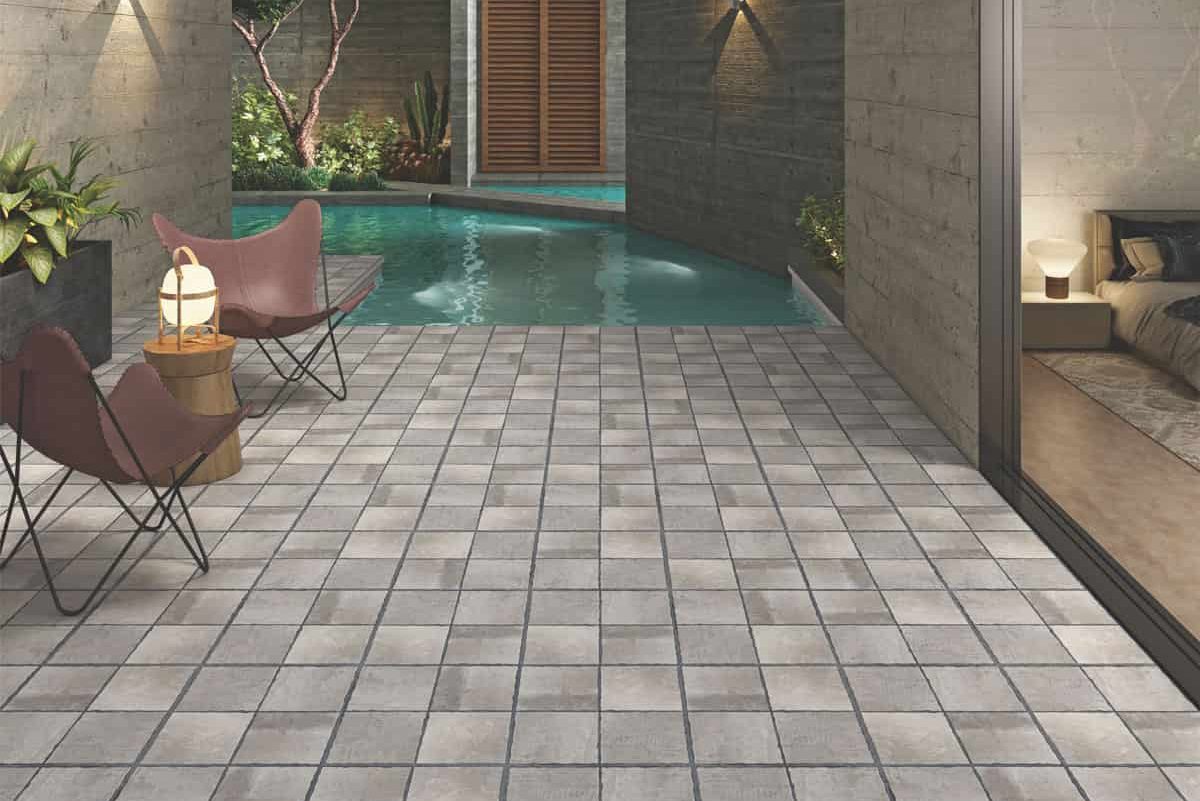
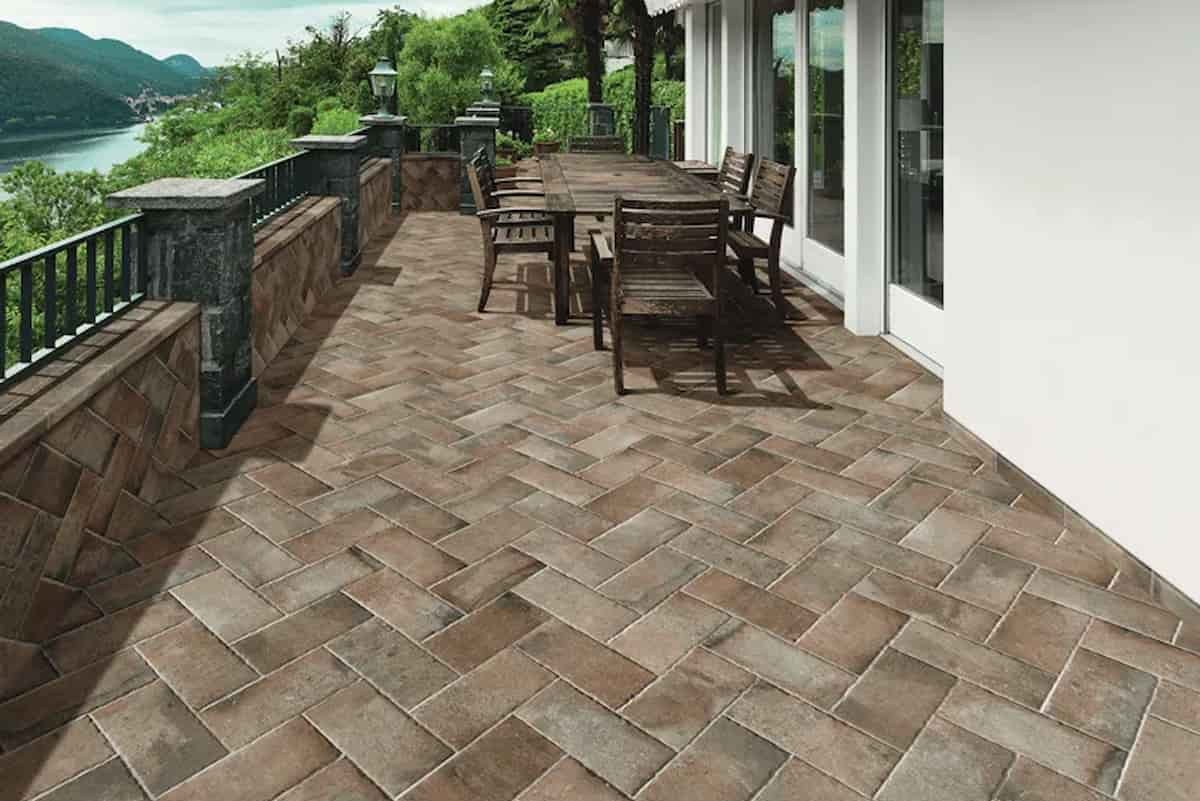
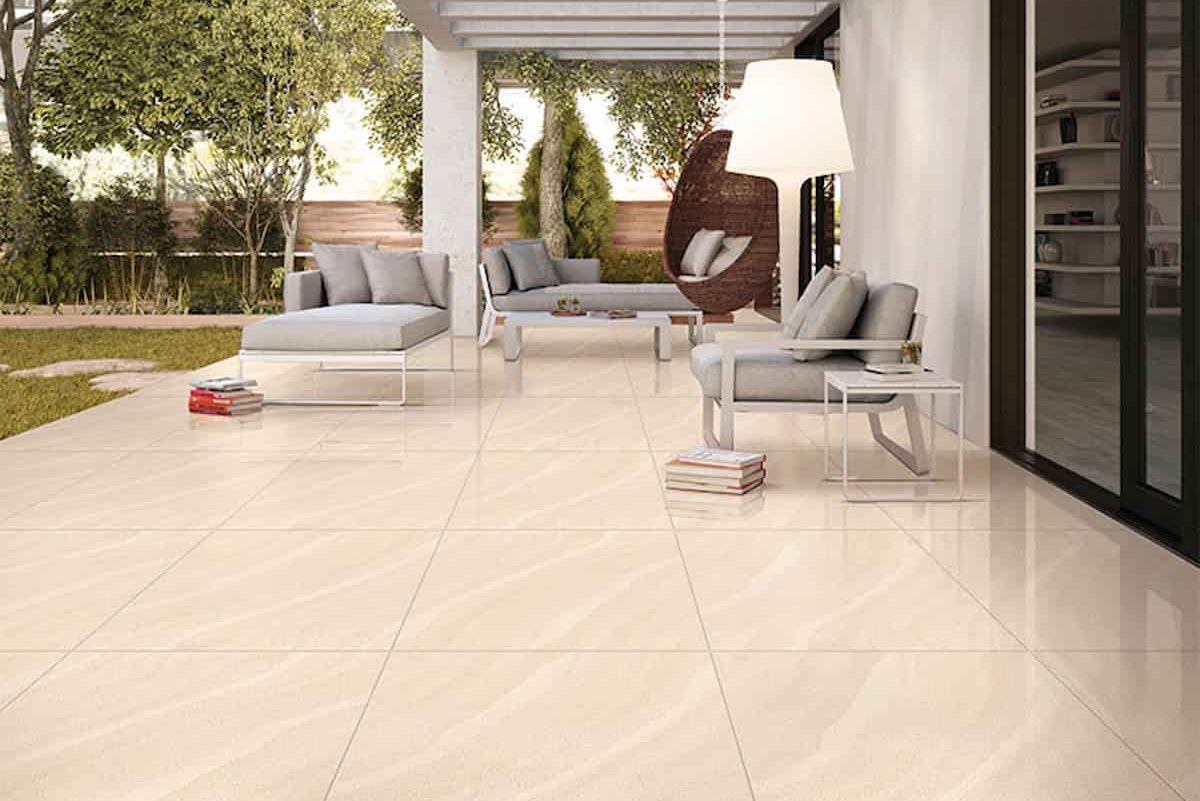
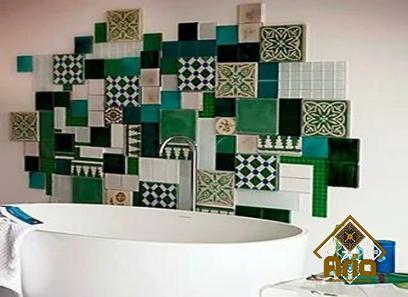
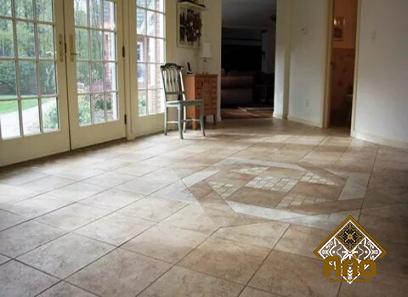
Can you use ceramic tiles outside? Outdoor uses of ceramic tiles are common in warm areas such as those found in Mexico and Italy because of their durability and resistance to the effects of the environment. However, ceramic tiling is not a common choice for use in environments that experience cold temperatures. If the water that is already present in the tiles or under the floor freezes, it will expand, causing the floor to crack and shift. This will result in damaged tiles and uneven flooring.
Nevertheless, developments in tiling and manufacturing procedures for tiles over the last few decades have alleviated many of the climate-related difficulties formerly associated with using tiles outside. In this post, we will review the information you need to know to complete your ceramic tiling project successfully.
What are the finest ceramic floor tiles to be used outdoors?
Most Home Depot stores carry all the materials and supplies necessary to complete a tiling project successfully. Dealing with a specialized tiling shop, on the other hand, is the way to go if you want the widest choices and the most expert guidance. These committed professionals will take you by the hand and teach you everything you need to know about the position.
After learning about the many challenges associated with the task, you may find that you no longer want to perform the installation yourself. You need to make certain that you choose tiles produced from materials that have a high density, regardless of whether you opt to hire a professional or do the job yourself.
If you select porous tiles, they may absorb water, which may result in difficulties with the formation of mold or mildew underneath the tiles. It is also possible for the tile to become stained and discolored if water penetrates the grouting and makes its way into the tile itself. Because porous tiles can take in moisture, they will suffer damage if the moisture freezes during the winter.
Make sure the tiles you purchase have descriptors such as “vitreous,” “frost-free,” “freeze-thaw stable,” or “impervious.” Check the label on the product’s box to determine if the manufacturer provides a warranty on the tiles’ ability to withstand freezing temperatures.
What Method Should I Use to Level the Floor Before Installing Outdoor Ceramic Tiles?
You have two choices when it comes to laying a floor in an outdoor space: you can either tile directly over the existing floor, or you may tear up the current floor and begin a new installation. You will need to level the floor regardless of whatever path you choose to take at this point.
Covering up an existing installation with new tiles is the most straightforward approach, but, likely, this won’t be an option. The state of the foundation or the floor that is already there is extremely important to the outcome of an outdoor tiling project. The surface must be level before you begin your new tiling installation.
Before beginning the process of tiling a floor, you need to make sure that all the high places have been smoothed down with sandpaper and that the surface is completely level. The same principle applies to newly built structures. You have the advantage of being able to use a self-leveling compound to create the foundation for your floor while you are working on new construction. We advise using the floor flex self-leveling product manufactured by Weber.
Why do I need to use an isolation membrane when installing ceramic tiles outdoors?
If you are planning to install an outside patio, you will need to ensure that the surface is waterproof. If water gets under the tiles and stays there, mold will start to develop, and stains will appear on your floor. The tiles will begin to shift and break due to the water freezing and expanding beneath them.
Imagine investing all that money on a new floor only to have it fall apart beneath your feet; that would be a terrible waste.
Rubberized sheets of isolation membranes are typically placed between two layers of thin-set glue and sold as a unit. Most adhesives include a latex component that is resistant to water and prevents mold growth.
What is the proper procedure for grouting an outdoor ceramic tile floor?
Grouting is an absolute must to ensure that the joints between your tiles are finally waterproofed. Most outdoor grouting solutions are made with latex formulations, which allow for expansion when exposed to the sun’s heat.
If the grouting is not flexible, it will break, allowing water to seep between the tiles. The newly applied grout is penetrated by a silicone grouting sealer, which enhances the grout’s water-resistance qualities.
Instructions for the Outdoor Installation of Ceramic Tiles
The installation of your outdoor ceramic floor tiles can be made easier by following these helpful hints.
Utilize the highest quality of materials – The cost of your tiling material should be taken into serious consideration. However, you should also ensure that you give the same level of consideration to selecting the grouting, caulk, and sealant.
Be sure to follow the Manufacturer’s Instructions – When you are mixing your grout, adhesive, sealant, and caulking, you need to be sure that you follow the package directions exactly. Make sure that you only apply these items to solid surfaces that have adequate drainage.
Allow for Growth and Development – Installing expansion joints at a minimum distance of 16 feet apart on your new floor will help prevent cracking.
Make Certain That You Are Equipped With a Waterproof Surface – Remember your membrane, and be sure to purchase materials that are waterproof that are of a high grade appropriate for the purpose.
Examine and Maintain the Ceramic Tile Floor of Your Outdoor Space on a Seasonal Basis – Inspect your ceramic tile floor’s grouting and expansion joints after each season to ensure that they have not been damaged. What happens to your floor due to temperature changes depends greatly on the season.
Your floor’s organic construction explains this. If you make it a habit to check the temperature and the floor for cracks at regular intervals throughout the year, you may be able to stop these problems from occurring in the first place.
The Answer to the Question: Can Ceramic Tiles Be Used Outside?
The installation of ceramic flooring outside is feasible and highly recommended. On the other hand, you will need to ensure that you use the appropriate tiles and carry out a tiling job that is both effective and watertight.
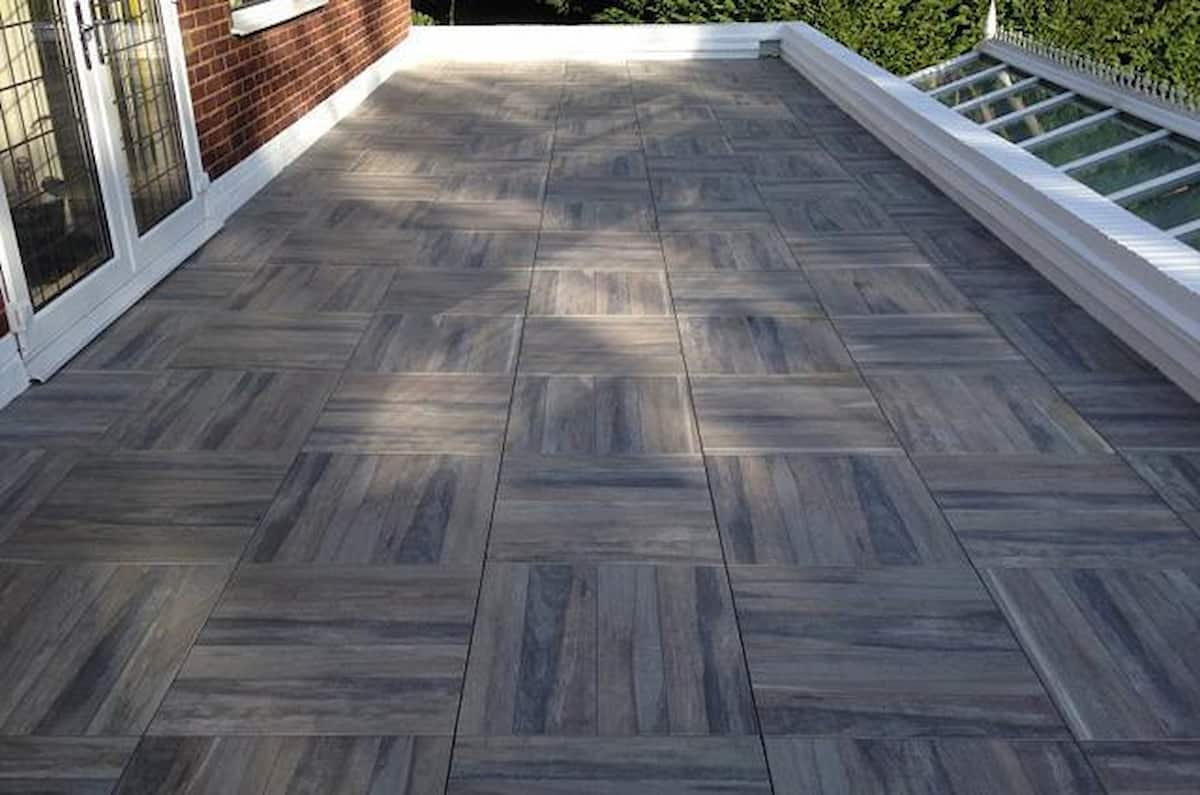
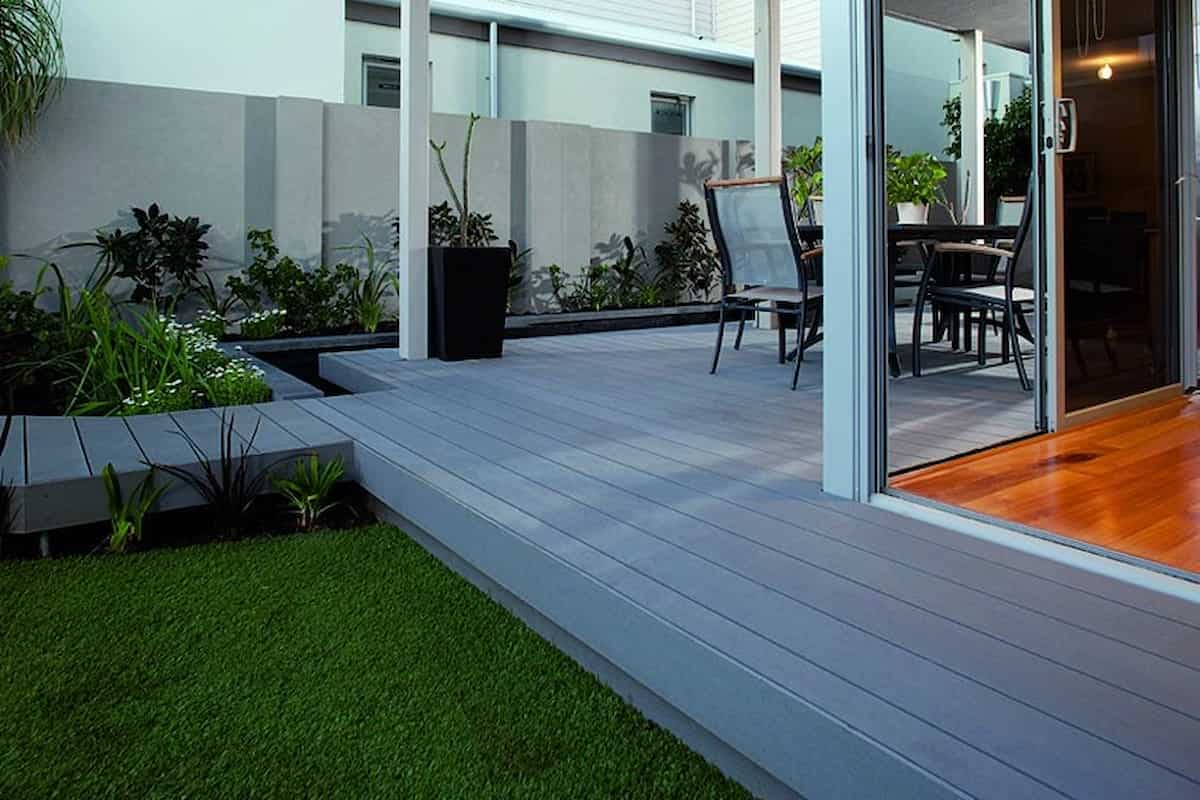
how to tile a deck
Almost all tile types can be installed in either an indoor or outdoor setting. But how the floor like a deck is ready for the installation is another story. Preparation for an external deck must take into account variables including temperature fluctuations, moisture content, and sun exposure.
Along with viscosity, the porosity of the tile is a crucial component in determining how well your floor will withstand the environment. Any do-it-yourselfer can lay tiles over an external deck, whether it is made of wood or concrete, if they pay attention to a few essential factors.
Getting the Deck Ready
- Use pressure washing to scrub all dirt and debris from the deck. Ensure that the wood’s surface dries fully.
- Apply 15-pound roofing felt to the deck’s entire surface. Overlap the metal lath pieces by one mesh length down the center of the deck to reinforce the felt. Avoid letting the lath touch any of the deck’s immediate surrounding walls.
- Using the flat side of the trowel, apply a thinset layer on top of the lath that has been combined with a latex component called slurry. Just enough slurry should be applied to completely cover the lath.
4.With one exception, mix the deck mud as directed on the packaging. To make the floor more durable and able to endure the demands of outdoor circumstances, replace the water with a latex ingredient.
- After spreading the deck mud over the slurry, level it with a two-by-four while maintaining the deck’s slope. Tamp the deck mud down firmly. The expansion joints must be spaced every 8 to 12 feet, and the height of the deck mud should be 1 1/4 inches. Give the mortar bed four days to cure.
- Apply a waterproof membrane over the top of the deck mud in accordance with the manufacturer’s recommendations. Follow all instructions about wall overlap, caulking, and seams between the membrane and vertical walls.
Deck Tilting
- Draw two chalk lines, one in a north-south direction and the other in an east-west direction, across the middle of the deck.
- Line up a row of tiles per line. Move the complete row of tiles till they contact the other end of the deck if you only need to move one half of a tile across the deck’s perimeter. In a deck outside, tile slivers must never be placed at the end of a row.
- Follow the instructions on the package to combine a fresh batch of thinset with water. The floor covering installer is to spread the thinset over the membrane using the flat side of a trowel, making sure to cover an area of around 3 square feet where the chalk lines cross. Create lines all over the thinset by raking the trowel’s notched edge through it.
4.Begin by placing the first row of tiles in the middle of the chalk lines, following the order in which they were laid out. To make sure the tiles are evenly spaced, place a level on top of them every two or three. Try to tap the tiles with a rubber mallet to bring down any high points if there are any. Once all of the tiles are level, place spacers between them. Spread additional thinset as necessary, then carry on installing until you have finished one complete row.
- Continue tiling the rows, putting spacers on all four edges of the tiles, as you did with the first row. Rows should be added until the deck’s full horizontal surface is covered.
- Using a wet saw, cut tiles to fit the deck’s outside vertical surface and the perimeter. Holding the tile in position, indicate where it reaches the bottom edge of the horizontal tiles for the edges of the deck and where it overlaps the tile for horizontal tiles. Regardless of where the tile will be placed, allow for the size of the spacers.
- Cover the deck’s vertical edges with external tile adhesive. In order to align their edges with the already-installed horizontal tiles, press the tiles into the adhesive. Place spacers in between them to provide the correct separation.
- Wrap the deck in kraft paper and let it sit for 72 hours to cure. Weight the paper down if necessary, but avoid applying pressure to the tiles. After the deck has dried, uncover it and take out all of the spacers in between the tiles.
9.Mix some grout in accordance with the manufacturer’s instructions. Holding a rubber grout float at a 45-degree angle and sliding it diagonally over them will wedge the grout into the joint. To completely pack the joint, drag the float in a “X” pattern across each groove twice.
Once all the joints around a tile have been filled, wipe the tile’s surface with a damp sponge. After you have grouted all around each tile, give it another wipe to make sure there is no haze left.
- Once all the seams have been filled and extra grout and haze removed, keep filling the joints and wiping away extra tile. The deck should be covered with kraft paper once more and allowed to cure for 72 hours.
Items You’ll Need
energy washer
15-pound roofing felt
steel lath
For wet application, thinset
additive for latex
An angled trowel
2 by 4-inch deck mud lumber
Crack-isolating, waterproof membrane
exterior caulk that is waterproof.
Chalk line device:
Level
elastic mallet
Spacers
Dry saw
Glue for exterior tiles
Exterior grout is made with latex and Kraft paper.
float for rubber grout.
Sponge
Tip
Acid etching is required prior to cleaning and preparing concrete decks.
While wiping extra grout from the tiles’ surface, frequently rinse the sponge.
Warning
Never allow extra grout or grout haze to dry on the tile’s surface.


Your comment submitted.