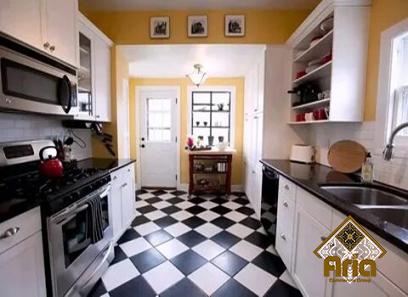
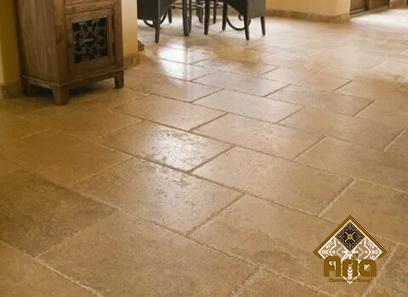
Whether you’re wondering if you can paint kitchen floor tiles, read on. Yes, it is the solution. Painting your floor tiles has both pros and cons and also, we should regard considerations before and after it.
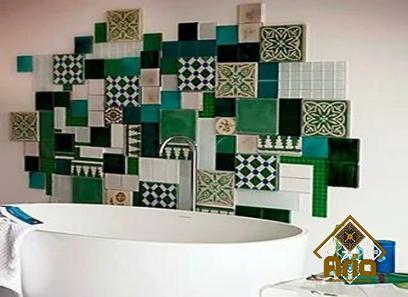
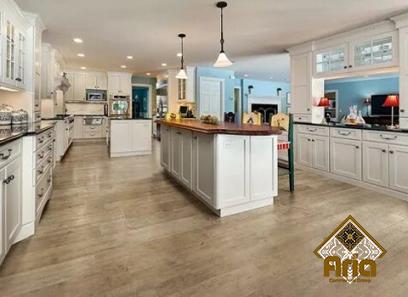
In fact, this work could be a wonderful alternative if you want to update the appearance of your bathroom or kitchen tiles but don’t have the time or money for a complete re-tiling.
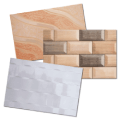
You have complete design freedom to choose any paint color, pattern, and finish. Painting your tiles gives you the opportunity to experiment with colors to see whether you like them; if you do, you can go ahead and utilize that color as inspiration for future tiling projects.
If you like DIY projects or are looking for a new home improvement project, painting your floor tiles is the ideal weekend job for you.

So, can floor tiles be painted? Preparation before painting: Absolutely! You may paint your floor tiles to give the room a facelift if you want to renovate your house on a tight budget. The answer to the question of whether you can paint floor tiles in your kitchen is yes.
To determine whether it’s the best choice for you, read our list of advantages and disadvantages of painting tile floors. Pros:
Simplicity: Painting your tiles is simple, and if you’re organized, it shouldn’t take more than a few hours. Economical: Painting your tiles is a more cost-effective option to modernize your bathroom or kitchen than completely replacing them. Design Flexibility:
Painting gives you the freedom to alter your mind while also providing a wide range of colors. DIY: Painting your tiles may be an enjoyable DIY project if you like making house changes.
Sustainable: Painting your tiles is a sustainable waste reduction alternative to a comprehensive makeover. Cons: Replacement or repair work will be necessary for your painted tiles during the next 6 to 12 months.
Delicateness: Painted tiles are a little more delicate than sealed, kiln-finished tiles since the paint might chip and deteriorate.
Imperfection: Painted tiles are seldom as picture-perfect as the original tiles since they are a DIY project. Existing Quality:
The tiles must all be in excellent condition to begin with in order to achieve a unified, slick appearance. Loss of Old Patina:
Painted bricks lose the existing tile’s textured finish and profile, which may be difficult to recover. Steps of Painting Tiles on the Floor:
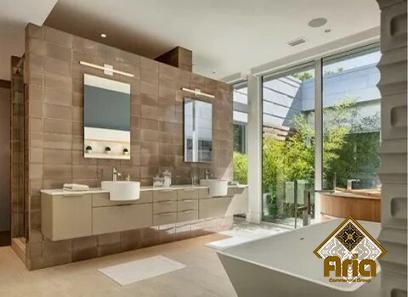
Painting your tiles is a fantastic, but more immediate solution if your bathrooms are looking a little antiquated and in need of an update, but your money or time constraints prevent you from going through with the complete re-tiling procedure.
The devil is in the details when it comes to painting floor tiles, therefore careful planning is crucial! Painting your tiles gives you a lot of creative freedom and lets you personalize your bathroom as you want.
Your outdated or ugly tiles may be updated to seem brand-new. Additionally, you’ll be able to get a feel for how new tiles might appear while saving money.
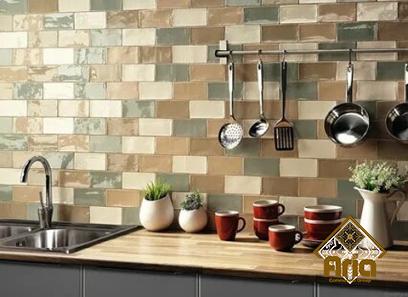
For instance, white floor tile paint might be a wonderful alternative if your tiles are an outdated color and you want to create a more modern atmosphere.
The answer is yes if you’re asking if you can paint floor tiles to reduce waste. Painting your floor tiles can help you reduce your environmental impact if you care about sustainability since it will eliminate the need for new materials, trash, and the byproducts produced during the re-tiling process.
You’ll need these goods and tools: Brush, In a bucket, Rags or towels for cleaning.1. Scrub the floors: First things first, clean your flooring before you begin the procedure so that you may assure a nice, clean basis for painting by removing any dirt or filth from the region.
Put on your cleaning gloves and respirator to perform this. It is essential to exercise care while using mold and dirt removers since they might be detrimental to the respiratory system. Use your sugar soap to clean the area after you’ve scrubbed it to get rid of any remaining mold, dirt, or debris. 2.
Sanding Your Tile Floors: Use your sanding block and sandpaper to completely sand the area after carefully cleaning it. The textured finish not only buffs the tiles and gets rid of any residue, but it also makes it easier for paint and primer to adhere to the surface.3.
Replace or repair cracked or missing tile or grout. Make sure your grout and tiles are intact and not cracked or chipped to create a smooth, unified appearance. Consider replacing or repairing any broken or missing grout in your kitchen or bathroom
. You may install the new tiles yourself or hire an expert to do it for you. 4. Use a Quality Primer: Primer is essential when painting your floor tiles!
This will assist in leveling the surface and guarantee that your paint clings to the tile surface appropriately. The primer must first be well mixed before being applied.
From here, pour the primer into your tray and apply it straight to your tiles with a brush and roller. If you want to be particularly safe, use your respirator; if not, think about opening the windows and doors to allow for enough air.
Use masking tape to cover off the places where the floors and walls meet in order to avoid paint or primer from unintentionally getting into touch with your walls during this step and the next.5.
Color Your Tiles: Mix the paint well before applying it to ensure adequate application. Pour the paint into your tray and use your brush and roller to apply it directly to the tiles using the same procedure as applying the primer.
Apply two coats for maximum coverage, and then run a clean roller over the tiles one last time to make sure the paint is distributed evenly.6.
Sealing your tiles: Applying a sealer to your tiles will ensure their durability and resistance to water and dust. Paint sealants are designed to completely adhere to the painted surface.
In order to shield the paint from enduring deterioration, they build a tough, glass-like layer on top of it. Apply the sealant using your tray and roller for even covering.7. Allow the floor to dry:
To avoid any damage or uneven markings on the surface, it is essential to keep the area empty for 24 hours after painting your kitchen floor tiles.

Your comment submitted.