Although ceramic tiles are long lasting, knowing and using the tips for fixing them when they crack or break are necessary.
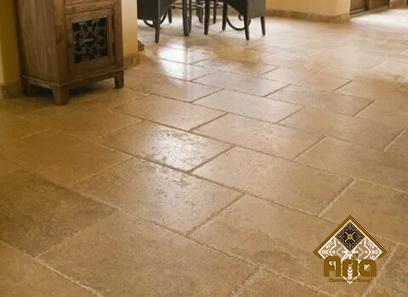
ceramic tiles uses
Unfortunately, all ceramic tiles including stair tiles have a higher risk of cracking or breaking when large things are put upon them. If you have a ceramic tile in your house that has cracked, we will show you how to restore it, so it looks like new again. Ceramic tile may be repaired using some transparent epoxy, a thin paintbrush, paint, and sealant. These are the only things that are required for the repair. To patch the crack, do the following procedures in order:
- Scrub the fissure as well as the tile.
- Epoxy should be applied to the break.
- Using a scraper, remove any excess, then wait for the epoxy to cure.
- Cover the fissure with paint.
- Put on a coat of paint sealer.
Ceramic tile may have small cracks repaired very easily, while bigger fractures may need the replacement of the whole tile. Repairing thin ceramic tile cracks is rather simple. Continue reading if you want to learn more about the precise materials and techniques involved in repairing broken ceramic tiles. What Are the Benefits of Repairing Cracked Tile? A cracked ceramic tile should be repaired for a variety of reasons, not the least of which is the fact that it detracts from the overall appearance of the room. The most common use for ceramic tiles are as flooring and backsplash material in showers, restrooms, and kitchens. These are all locations that generate a significant amount of moisture. This moisture has the potential to leak through the fracture and cause harm to the flooring underneath. If an excessive amount of moisture is allowed to seep through the crack to the flooring beneath, the wood may rot as a result. Additionally, it may result in the growth of mold and mildew, both of which are hazardous to both your health and the safety of your home. The fracture has the potential to become larger over time, which would result in an increased flow of water through it. Cracks that are greater in size will need replacement of the tile since they are more difficult to mend. 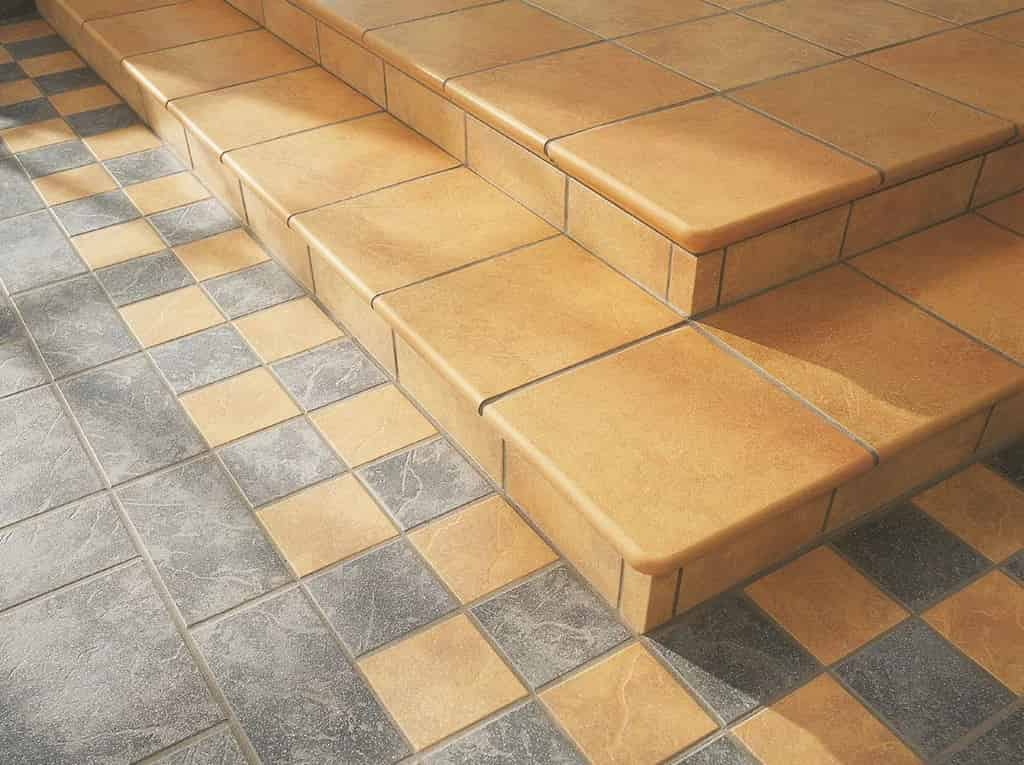
ceramic tiles used outdoors
Putting Cracks in Ceramic Tile Back Together Now that you truly understand the significance of repairing cracked tile, let’s take a closer look at each of the phases involved in the process. The following is a list of the supplies that you will need:
- Scraper
- Floor cleaner or dishwashing liquid
- A swab for cleaning
- A hair dryer or a vacuum cleaner
- Transparent epoxy
- A brush with a narrow tip
- Paint
- Paint sealer
- Remove the dirt and tile from the crack.
When mending a tile that has been cracked, the first thing that needs to be done is to clear out the crack. This will assist in the removal of any dirt or debris that may be in the way of the epoxy being able to seep down into the crack. Insert a thin scraper into the crack and scrape out as much dirt as you can to clean it out. After scraping away the debris, clean the crack with a tile cleanser or dish soap after dirt has been removed. In the event that more cleaning is required, an old toothbrush might be used to reach farther into the crack. It is very vital to clean the tile thoroughly to eliminate any traces of dirt or oil; otherwise, epoxy and paint may not adhere properly. Use the cleaning cloth to wipe the tile, then wait for the tile and the crack to dry completely. It might take a bit more time for the crack to dry. Either use a vacuum to remove any extra water from the crack or plug in a hairdryer, set it on, and move it up and down the crack for approximately 15 minutes to speed up the drying process.
- Epoxy should be applied to the crack.
After the tile has had sufficient time to cure, it is time to apply the epoxy. In the event that the epoxy has to be mixed, be sure to follow the directions on the container. Put the required quantity of epoxy onto a piece of cardboard or a plate made of disposable material. 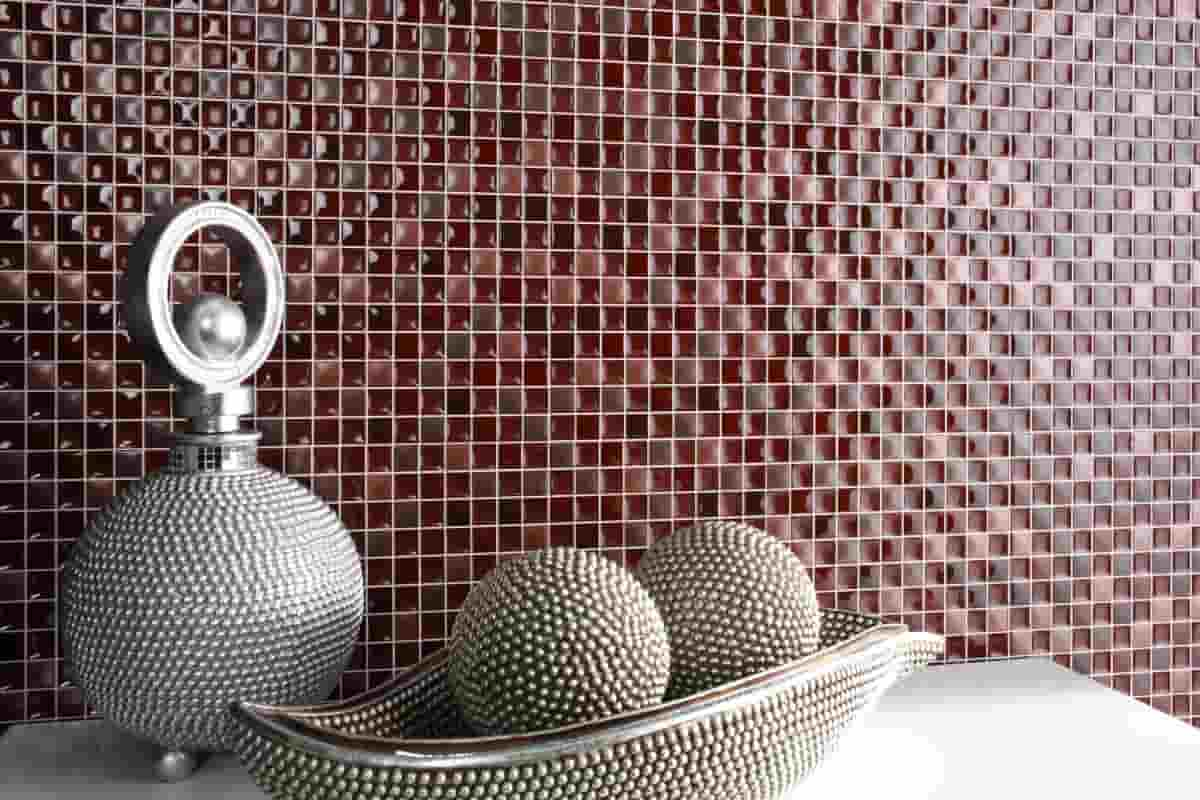
ceramic tiles international
Do not put anything that you don’t want to be destroyed at risk by epoxy by pouring it into a dish or plate. After the epoxy has had time to set, it becomes very difficult to remove. Apply the epoxy to fill up the fracture. Applying it with a toothpick will result in narrower cracks. Use a craft stick to create fractures that are wider. To fill up the fracture and level it out, scrape the epoxy over it. When applying epoxy, never use a knife or scraper since the substance sets up very rapidly.
- Remove Any Excess Epoxy With A Scraper.
To remove excess epoxy from the tile, scrape it off with a craft stick or scraper. It is important to move rapidly through this phase in order to prevent the epoxy from setting onto the tile. If you removed the excess using a scraper, clean it as soon as you’re done so that the residue doesn’t have a chance to set and become difficult to remove. Wait until the epoxy filling the fracture is totally dry before proceeding.
- Cover the Split with Paint
After the epoxy has had time to dry, paint should be applied over it to cover up the crack. Choose a shade of paint that comes very close to duplicating the color of the tile. Paints that are based on oil or urethane perform the best since they are resistant to removal with water. You may conceal the crack by painting over it with a tiny paintbrush until it is no longer visible.
- Use a clear coat on the paint.
Give the paint some time to cure completely. After the first coat of paint has dried, proceed to coat the tile with urethane paint or wood sealant. The sealer will stop the paint from peeling and will keep water from getting into the crack that was just fixed. After the sealer has been applied, you must wait until it has dried fully before stepping on the tile. 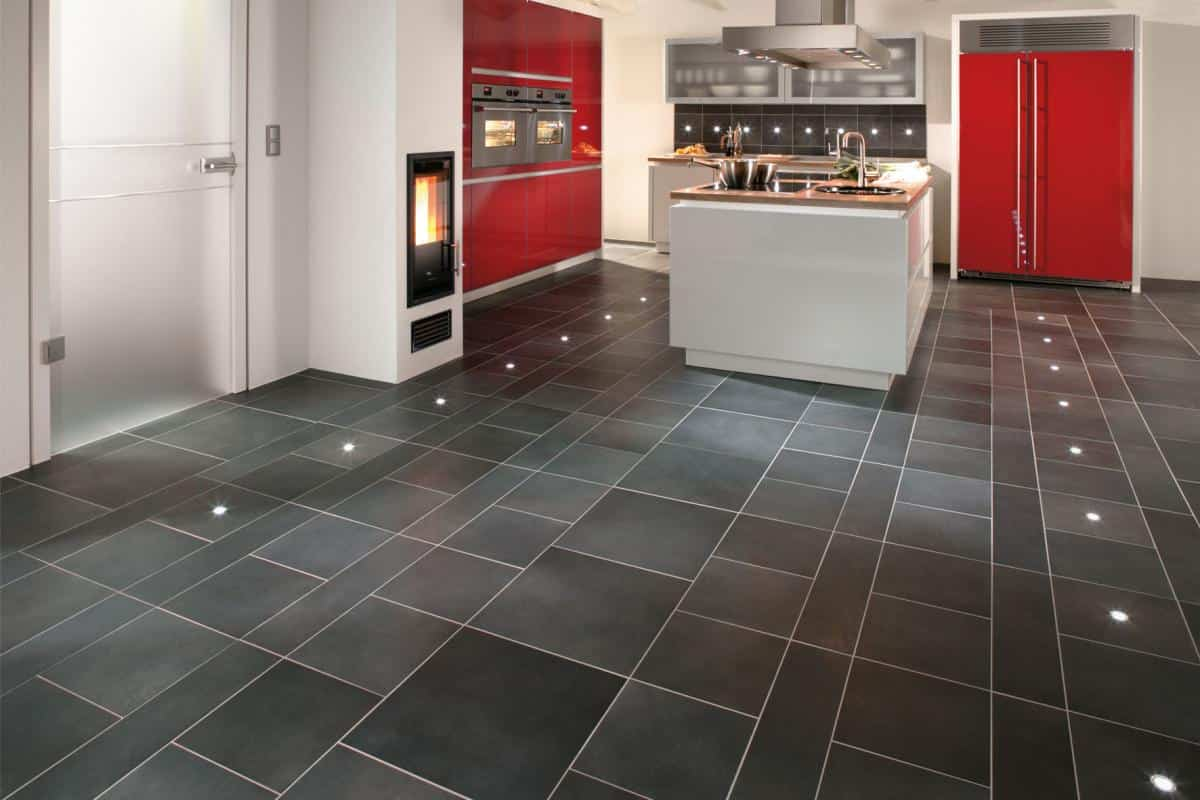
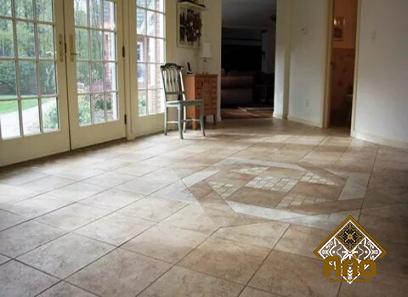
ceramic tiles installation
Is it difficult to break apart ceramic tiles? Ceramic tile is a popular material because it is very long-lasting and can resist a great deal of wear and tear. The tile is tough to break, which indicates that it would need significant force in order to do so. The following are a few situations that might lead to the cracking of a ceramic tile. Something Weighty Crashing down upon the Tile The kitchen is the location in which this issue manifests itself most often. Cracks in ceramic tile in the kitchen may be caused by a number of different mishaps, including the dropping of large pots and pans, the putting down or dropping of shopping bags full of cans, and so on. This is especially important to remember while working near entrances since there is a greater risk of items being lost if the door is opened. The tile that was used was of poor quality. It’s likely that the tile that broke was of poor quality or wasn’t handled the way it should have been. Ceramic tiles that are crafted from high-quality materials are more resistant to breaking than their less expensive counterparts. In the event that you need to repair a tile, it is important to make sure that you choose tiles that were purchased from reliable shops or home improvement stores. The materials underneath were installed in an incorrect manner. If you have cracked tile, it’s possible that the floor joists below the tile weren’t properly spaced apart or that the concrete flooring didn’t have enough time to cure fully before the tile was installed. If one of these things were to happen, the floor might start to become less stable over time, or it might not be able to hold the tile, which would result in the tile cracking. The weight of the load on top is too much. The tile may break if anything very heavy is put on top of it at some point in time. 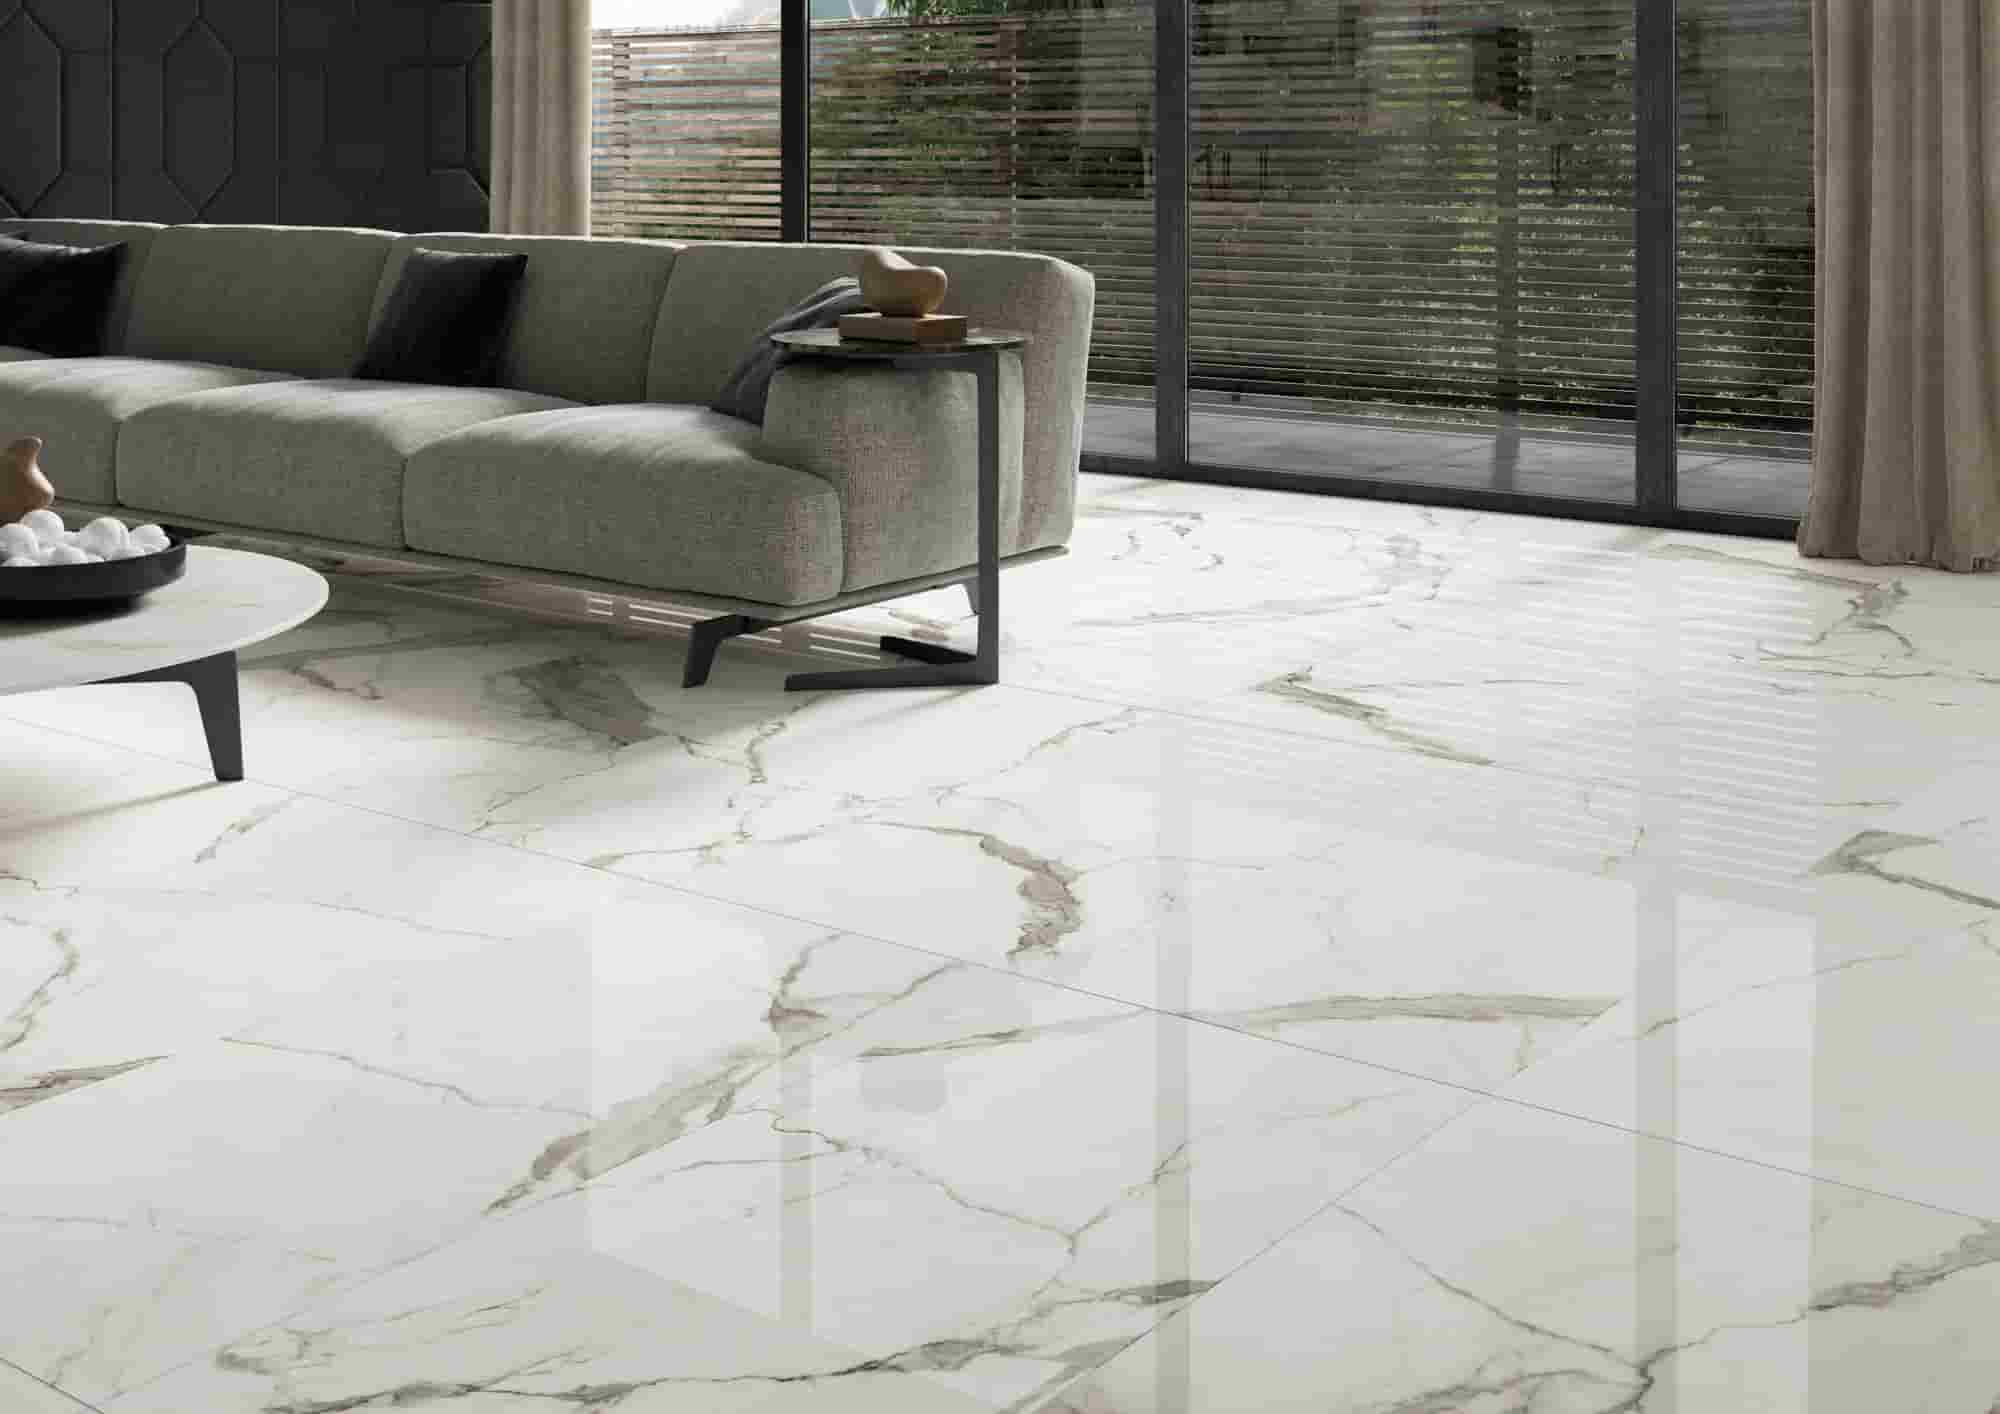
ceramic tiles in bathroom
In general, ceramic tiles have a weight capacity of up to 250 pounds; however, certain appliances, such as refrigerators, washing machines, and dryers, may weigh more than that. The tiles that are located beneath and all around these appliances are not always capable of supporting the weight. Is Painting Directly onto Ceramic Tile Possible? Ceramic tile may be painted so long as the tile is not subjected to excessive moisture or is trampled on regularly. It is permissible to paint ceramic backsplashes or tiles that are fastened to the wall; however, it is not recommended to paint floor tiles that are subjected to heavy traffic or tiles that are located around a bathtub since they become wet regularly. This is due to the fact that the paint could crack and peel if people walk on the tile or expose it to the elements. If the cracks are well sealed, you may paint over them, but larger cracks will show through. How Does One Replace a Tile That Has Been Broken? Because some fractures are so extensive, it may be necessary to replace the tile entirely in certain cases. To our good fortune, the procedure of replacing a damaged tile is not a difficult one. Follow these procedures to replace a tile that has been broken.
- Take out the previous grout.
To remove the old grout, you will need a tool specifically designed for that purpose. During this phase, it is important to protect your eyes from having grout particles in them; thus it is advised that you use safety glasses. Take extra precautions to ensure that the procedure does not result in any harm to the tiles that are nearby.
- Loosen the tiles’ screws.
To prevent damage to the tiles that are next to the area being worked on, cover them with painter’s tape. It may be essential to use a hammer to crack the shattered tile or a drill to drill holes into the tile before it can be removed successfully. 
ceramic tiles in morbi
- Take Away All Of The Pieces
To break up the old tiles and remove them, you’ll need a chisel. You might also use a screwdriver with a flathead tip. Move the chisel along the underside of each tile as you move it up. It’s possible that you’ll need to wriggle it in order to dislodge the tile. After the individual pieces have been eliminated, use the chisel or the screwdriver to get rid of the tile glue that was on the floor.
- Set the new tile in place.
Spread mortar or similar tile adhesive on the surface you have chosen for the tile to go; spread mortar or similar tile adhesive. A little amount should also be spread on the reverse side of the tile. After placing the tile where you want it, push down on it until it is flush with the other tiles. In addition to that, this will aid in setting the glue.
- Replace It With Fresh Grout And Fill In
Please be patient while the tile glue dries. To install the new tile, you will need to mix up some fresh grout and then use a tool that is called a grout float to distribute the grout into the crevices surrounding the new tile. You may clean up any grout that got on the surrounding tiles by using a damp sponge once the grout has dried and set. Before you walk on the tile, you should give the grout at least 24 hours to dry. In conclusion You should now be able to repair ceramic tile that has minor cracks or replace tile that has bigger cracks using the knowledge you just gained. Both of these procedures are simple and may be carried out at a reasonable cost. Remember to give the tile plenty of time to dry before stepping on it or getting it wet after completing the repair, regardless of the technique you choose to employ. Have fun with your tile now that it’s been fixed! 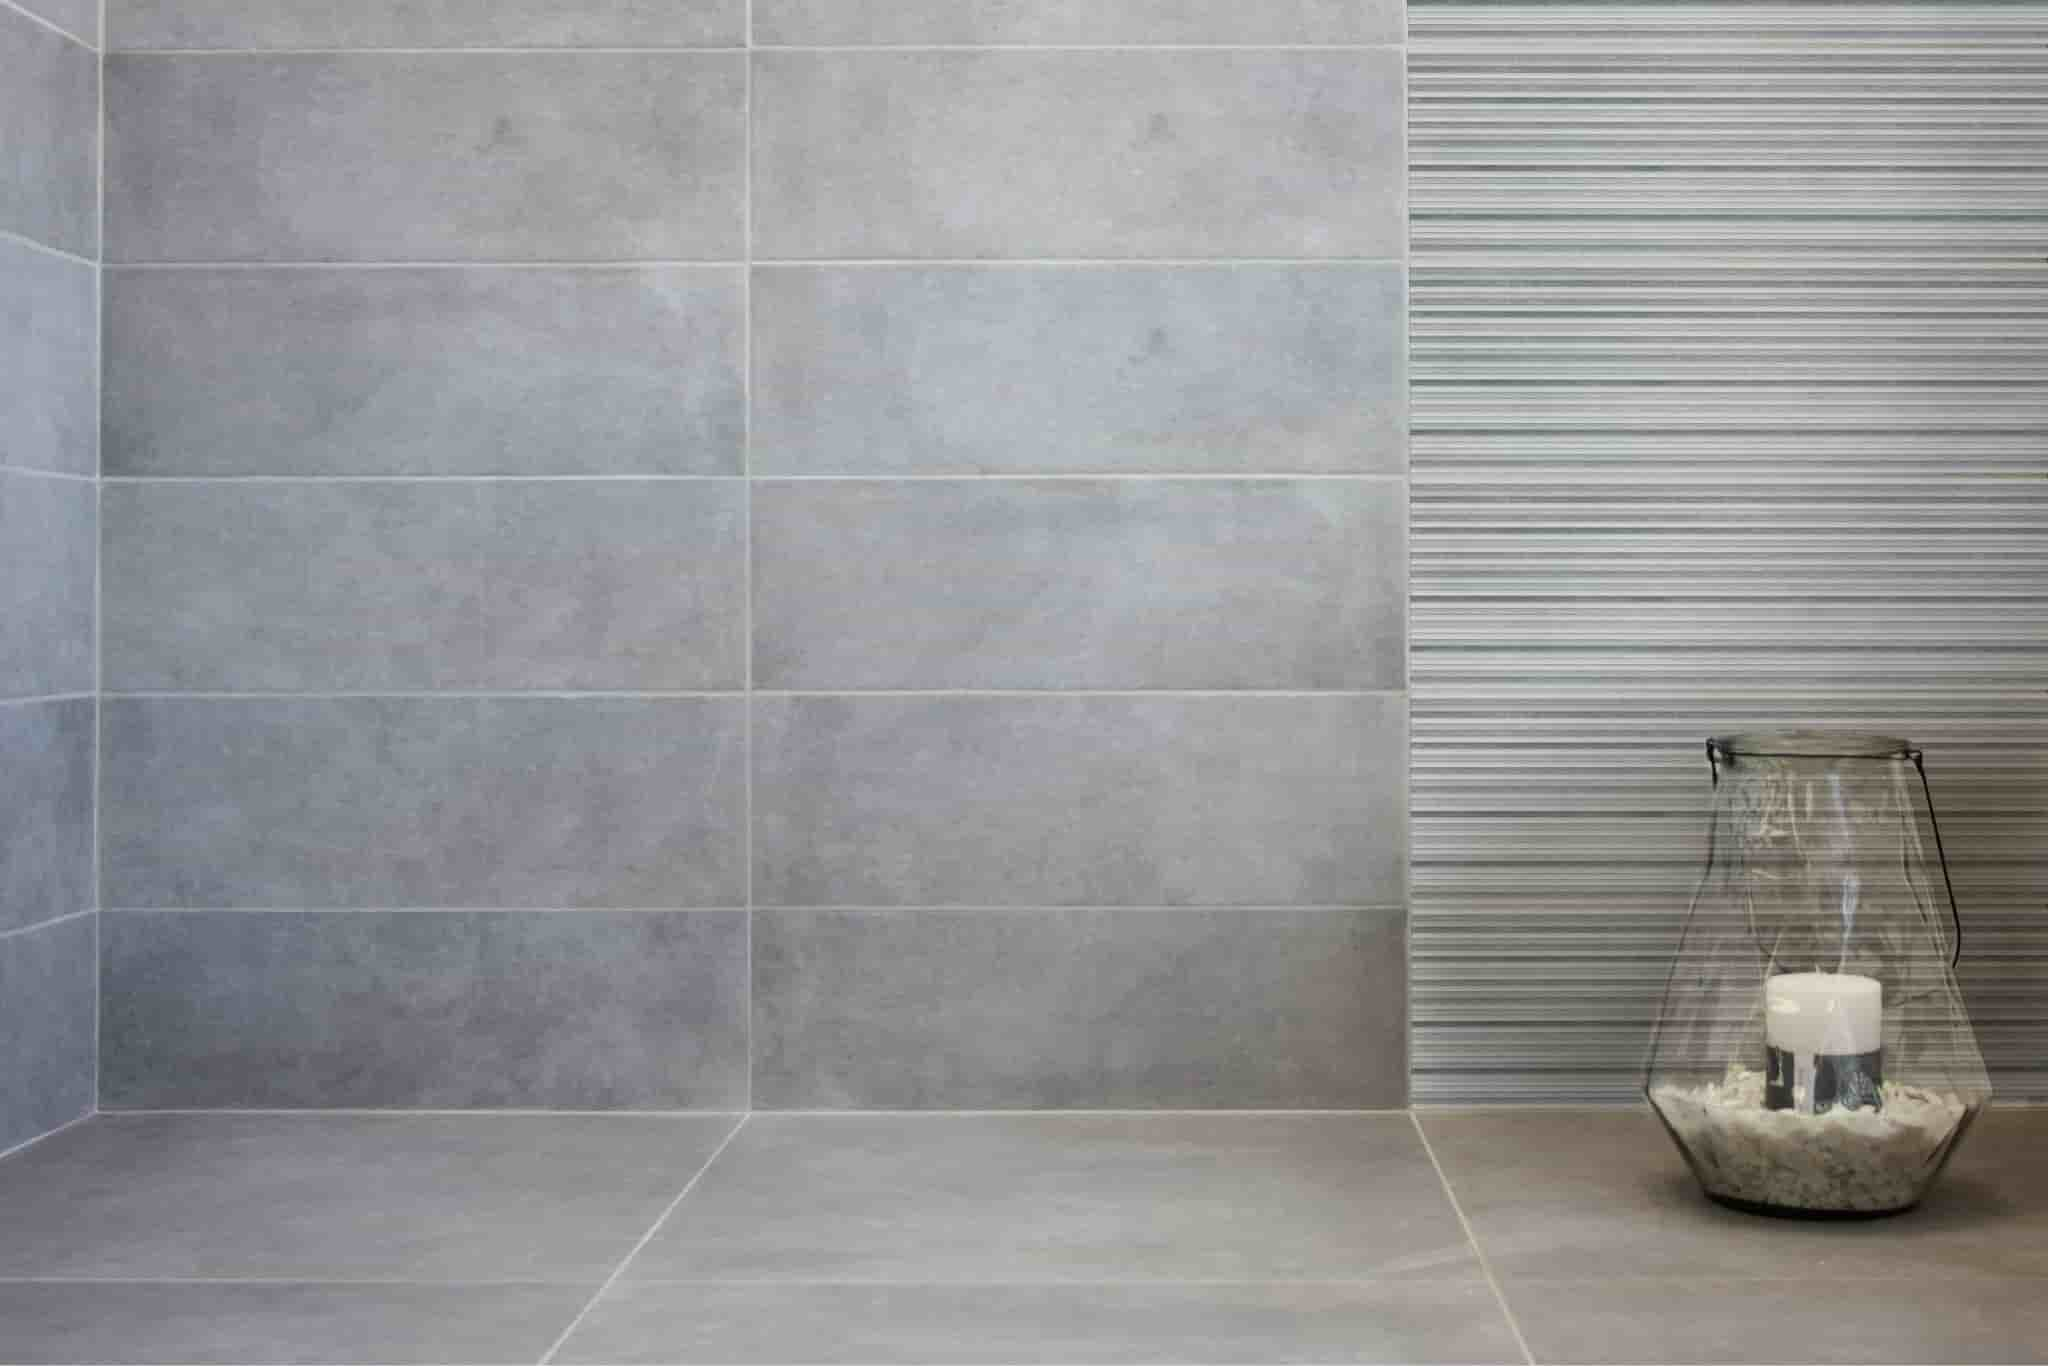


Your comment submitted.