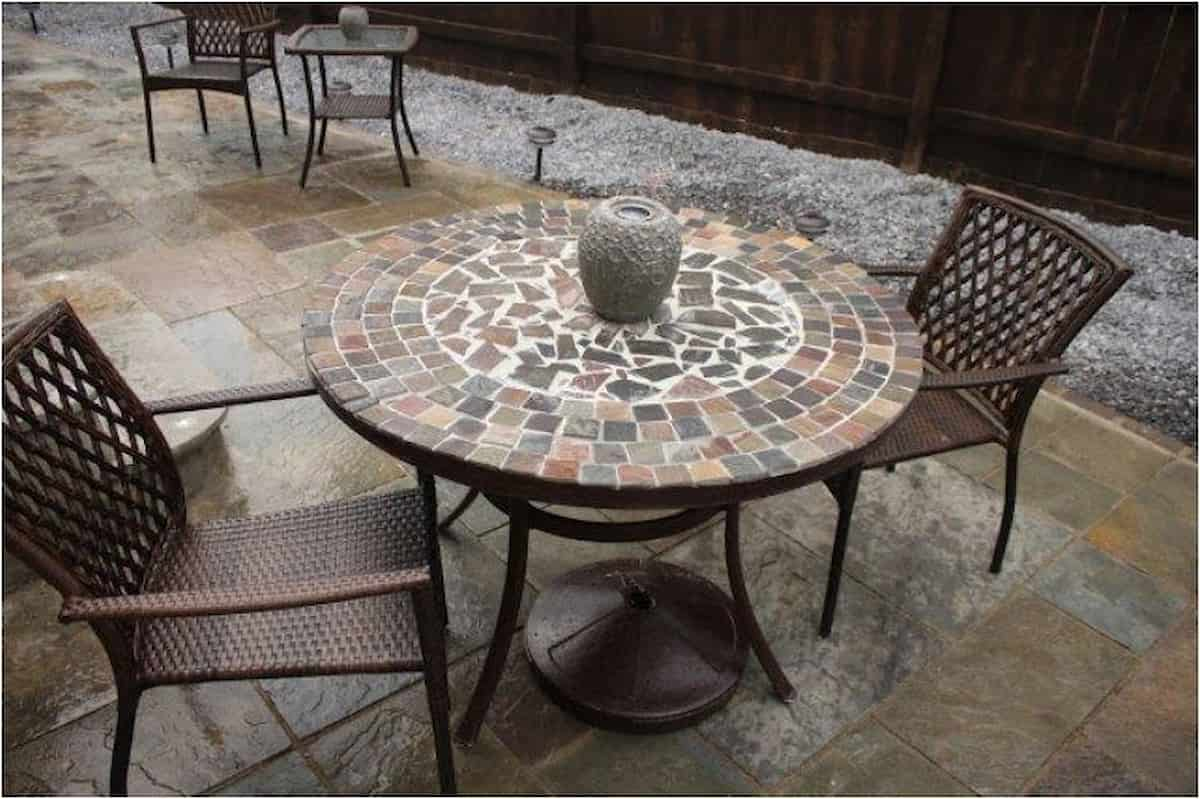
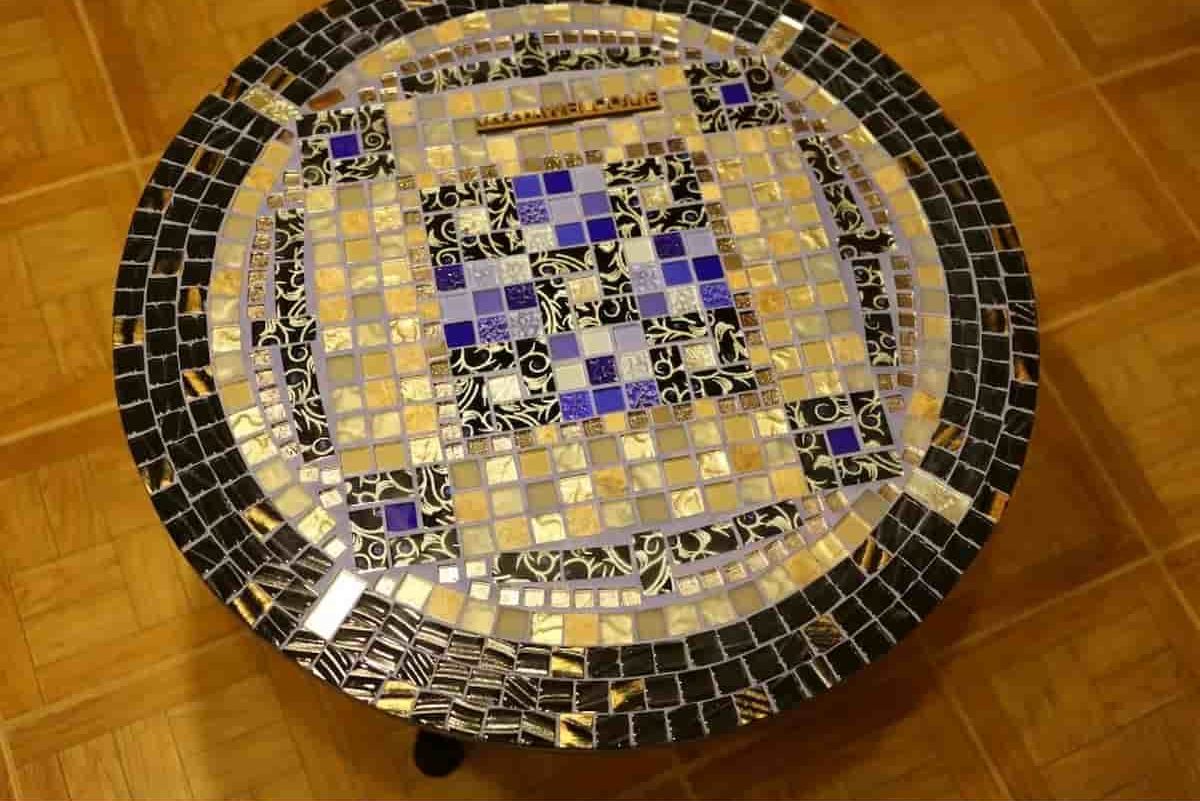
Here are some mosaic design ideas for garden tables that you may create with round ceramic tiles as part of crafts or a craft project. In addition to that, I have provided advice on grouting and sealing the tiles. If you have an old table that you no longer find appealing, why not transform it into something lovely by adding a mosaic pattern? Putting it together is a breeze and much fun.
- Set the Table in Advance.
You can paint the table legs in whatever color you wish and any other surfaces that will not be covered by the mosaic you are creating. The table needs to be allowed to dry thoroughly, preferably for at least a day.
Completely clean the surface, ensuring it is dry and level after you are done.
- Acquiring the Porcelain Tiles Necessary for the Mosaic Pattern
The following are some locations where you can obtain tiles or purchase them:
From Amazon’s online marketplace. Because this store always has such a wonderful selection of ceramic tiles and the prices are so reasonable, this is the only place I will ever shop for mine.
Stores: Some establishments have some weird tiles left over. Typically, these will be set aside in a sale box where you can purchase them individually and at a reduced price.
Displays: Several retail establishments put out free or deeply discounted samples for customers to try before making a purchase.
Ask your friends or family members if they have any extra tiles stashed away in their basements or garages.
Garage Sales Because you can get tiles at a reasonable price at garage sales, this is an excellent choice for you to consider.
Be sure that all of the tiles you purchase have the same depth, as this is an essential piece of advice. This step is essential to ensure that the finished table will have a smooth and even surface. There is a wide variety of hues, contours, and patterns to choose from.
- Get yourself ready
It is up to you to pick the size, in terms of both length and width, of the tiles you will use to create the mosaic. If this is your first time working on a mosaic project, I recommend utilizing a variety of different-sized pieces. After you have finished making your first mosaic, you will have a better idea of which size of tiles you prefer to work with.
To crack the tiles, you’ll need to use a hammer. They can be broken into bits by giving them a little tap on the surface. As you continue, you will become accustomed to the required pressure level.
In a separate container, all the tiling pieces are the same color. When it comes time to lay them out for your design, this will make things simpler for you. If you do not have any boxes at hand, you could also put them in distinct groupings.
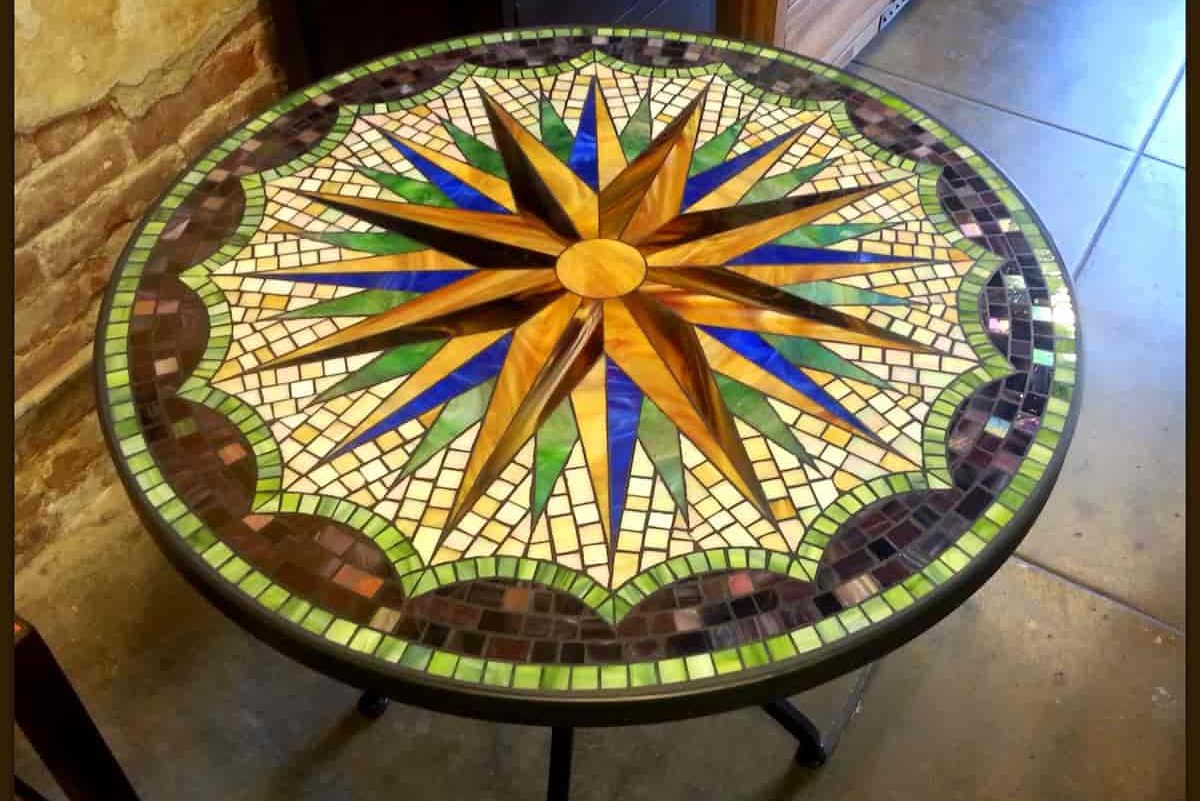
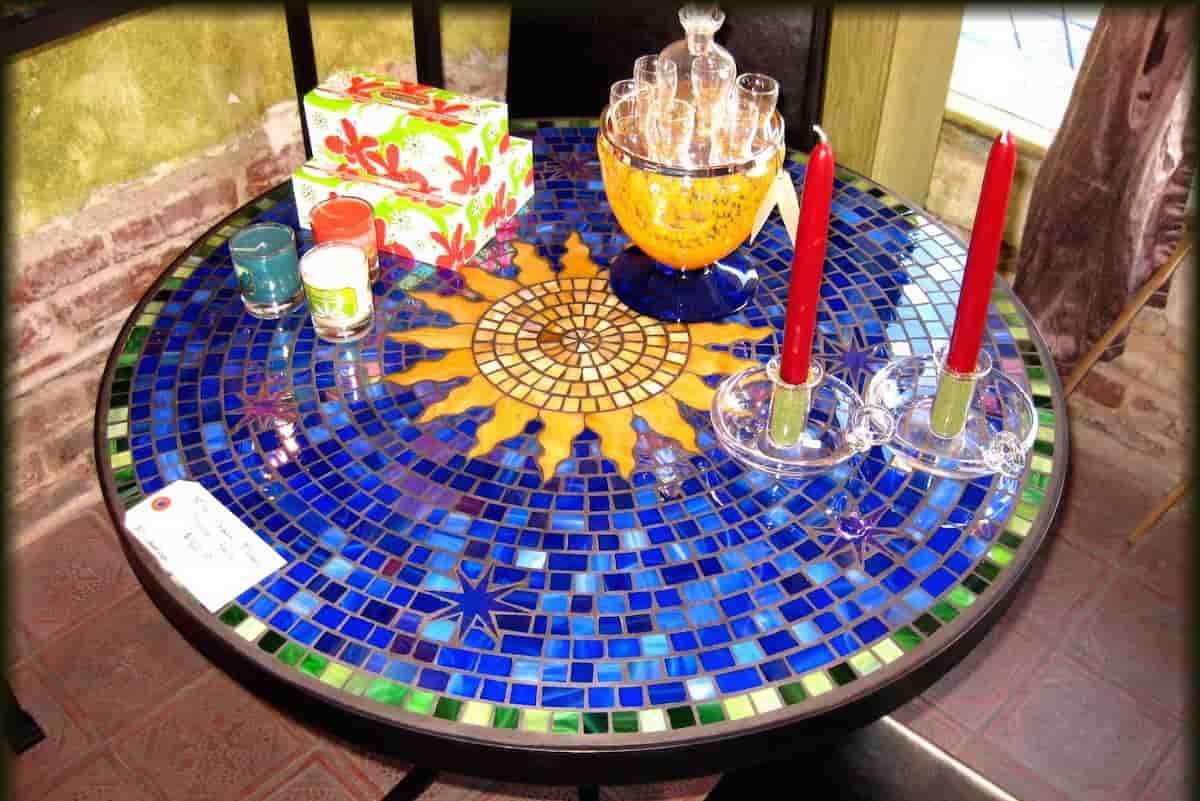
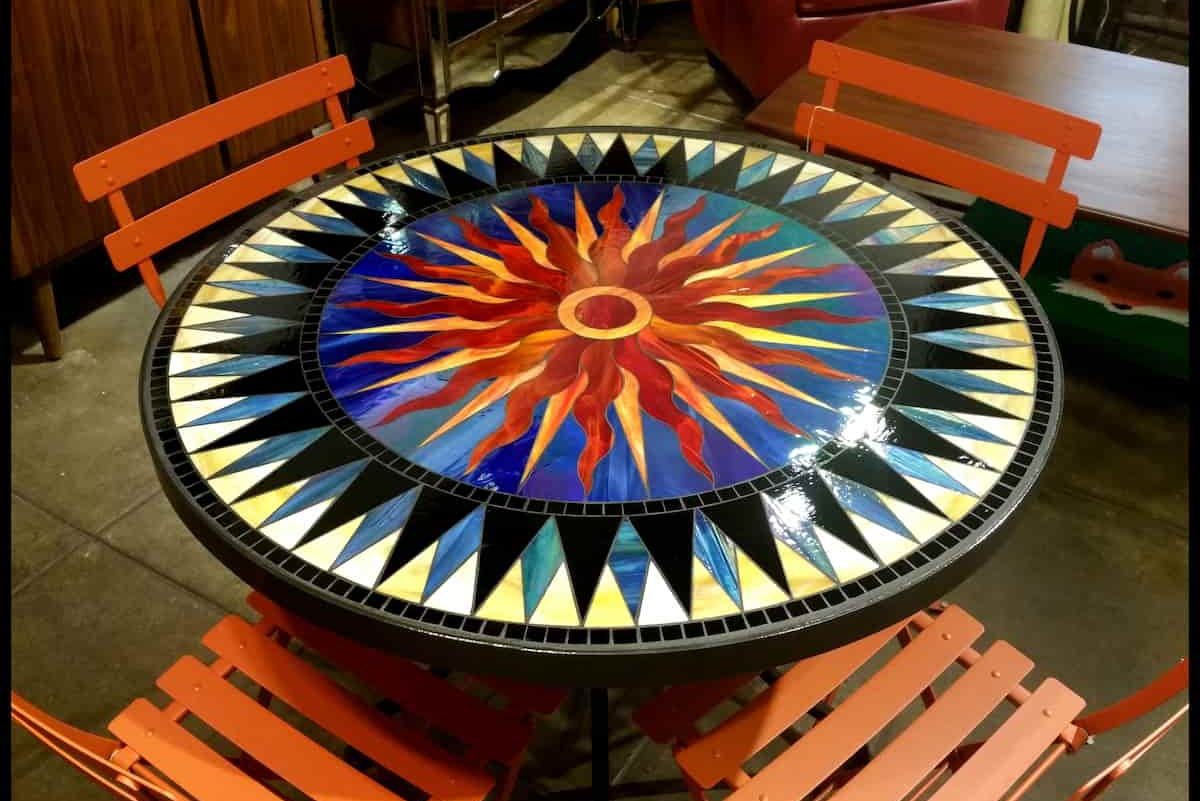
- Design Your Tabletop
After the tiles have been shattered into fragments, you can begin arranging some of them on the table to form the design you want. You can group the same colors or mix them up in different rows. When forming a shape or making straight lines, use tiles of the same color. Since it is your table, it is up to you to select how everything should be arranged on it.
- Attach the Tiles using Glue
Once satisfied with the design, you can begin applying the ceramic tile adhesive to the tabletop and bonding the tiles down.
Spread some glue over a table section, and then press the tiles firmly into it. This requires patience, but please ensure it’s done evenly and carefully.
To check whether or not a collection of tiles that you have adhered to the table at various intervals are level, place the spirit level over the top of the tiles.
They need at least one day to dry out entirely after being left out in the air.
- Make the Mosaic Table Ready for Use
Follow the instructions on the bag to thoroughly combine the grout with the water.
You can use a brush or a plastic scraper to apply the grouting to the tabletop.
To avoid the grout from drying out before it can be adequately spread, only cover a few tiles at a time while working on the project.
You should provide the grouting between the tile gaps with a smooth finish. Kindly make an effort to ensure that it is dispersed uniformly across all of the locations.
Continue working around the tabletop to place the remaining tiles until you have done so completely.
When you start cleaning the tiles, start where you began putting the grout in the first place. Move clockwise around the room.
Make use of a sponge or a cloth that has been dampened with water to clean a few of the tiles.
Make use of the plastic scraper to remove the majority of the grouting as well as any extra water.
Perform this step for each of the tiles.
Obtain a fresh damp towel or baby wipe and wipe everything down to complete the cleaning process. Shine up the tiles across the entirety of the table.
- Bringing an End to the grouting
After allowing the grouting to dry for twenty-four hours, you need to check on the table.
Use the spirit level to ensure the tiles are on an even surface. In some places of the floor, the grout line will be unevenly spaced between the tiles.
Create a further quantity of grout, but this time make it of a more runny consistency.
Repeat the process of spreading the grout over the tiles, giving special attention to any uneven places.
After cleaning the tiles in the same manner as described before, you should let them air dry for another twenty-four hours.
- Put a sealant on the Tiles
Prepare the grout sealer by thoroughly combining the components as directed on the bottle. My mixture consisted of five times as much water as a sealer.
Make sure to use a clean paste brush while applying the sealant to the mosaic. Because it is so watery, you need to be careful not to let puddles form in the spaces between the bricks.
Allow it to dry for a total of three hours.
Put on an additional layer of sealant.
This will keep the mosaic tabletop in good condition while improving its appearance. Your mosaic tabletop will be finished when this is entirely dry to the touch!
Don’t Stop Experimenting with the Art of Mosaics
Since you’ve already created your first mosaic tabletop, you now have the skills and experience to make further ones. The opportunities are limitless, but here are a few ideas to get you started:
Applying new paint and creating a mosaic pattern can transform an old drawer set or sideboard into a wonderful piece of contemporary furniture.
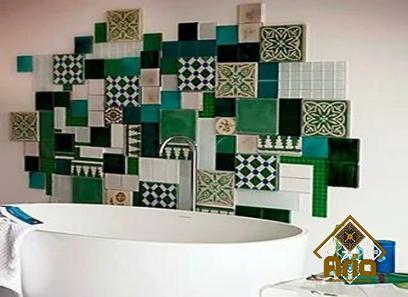
Create a mosaic on the wall’s surface to breathe new life and color into a simple wall in the garden or yard.
To achieve a more antique appearance, embellish picture frames or ancient mirrors.


Your comment submitted.